Payment Reports & Export to Accounting Software
How you can access a report that shows all payments that have been made via the membership, events, or site payments report and import the payments into your accounting software.
In this article
Importing Payments Into Accounting Software
MEMBER PAYMENT REPORTS
To access Member Reports you must be logged in with the correct Membership privileges and click on the Membership button in the top navigation, and then click on “Reports” in the left navigation.
The payment report shows you all transactions that have been processed within a chosen number of days.
-
Click on Reports and select “Payment Report”.
-
Choose a Membership Level and Membership Product from the Dropdown lists at the top of the screen.
-
Enter the dates you would like to see transactions from and to.
-
Click on “Search” to see your results.

-
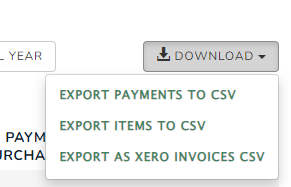
You can choose to export your report to CSV or Xero by clicking the relevant buttons. If you use Xero and can't see the "Export to Xero" button you need to add a Xero Code in the External/Xero Accounting Code in your Organisation Settings
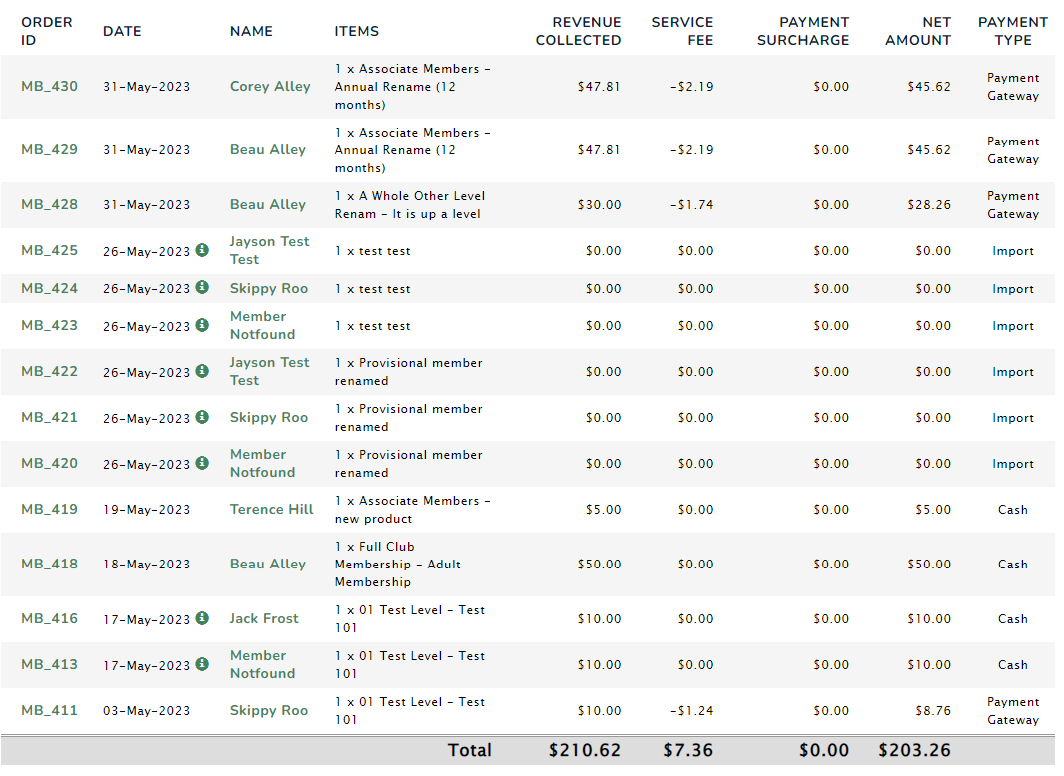
Your payment report will look similar to the below example;
EVENT PAYMENTS REPORT
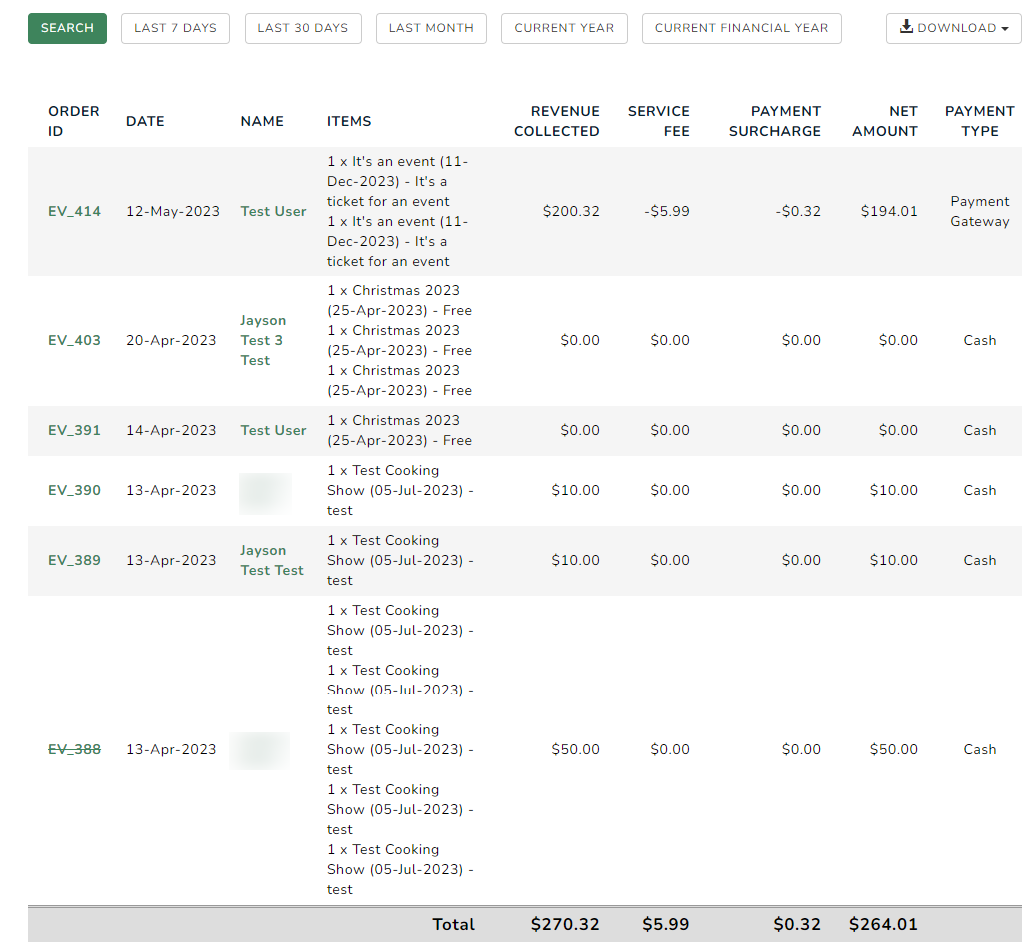
- To access the Event Payments Report, from the events module, click on the 'Payments Report' link in the left navigation.
- User the drop down to select the Event that you wish to report on or select "All Events".
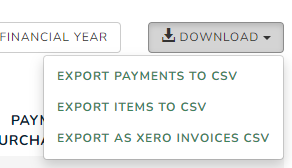
- You will also have an option to 'Export Payments to CSV' or 'Export as Xero Invoices CSV' via the DOWNLOAD button.

- Reports are available for the last 90 days. For older event payments, please view the Site Payments Report.
For more information on Event Payment Report, see this article
Online Store Payment Report
To view the Online Store Payment Report, select Reports, then Payment Reports from the left navigation in the Online Store module.
You can use the filters to create the report you require.
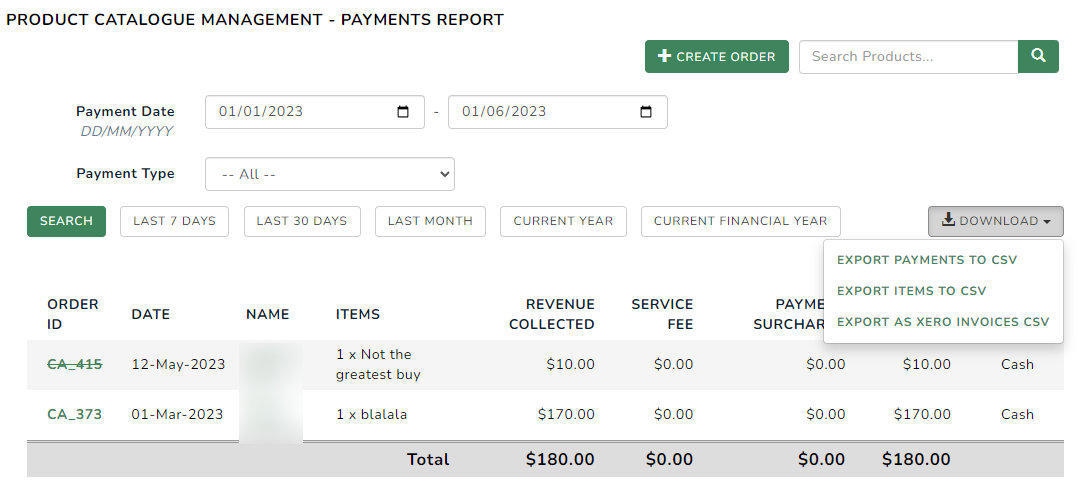
To create a CSV that is compatible to import into your accounting software, select the 'Export As Xero Invoices CSV' button.
For more on the Online Store Payment Report, see this article
SITE PAYMENT REPORT
To view the Site Payments Report, hover over your name in the top right corner of the admin page and click Site Payments.
.png?width=195&name=Untitled%20design%20(69).png)
You will now see the Site Payments Report page.
Enter the date range you wish to view the payments from, and to, or click on one of the buttons below to view the selected period.
The report details;
Date: The date the payment took place. Hover over this to see the order date.
Name: The Users name.
Items: The product(s) that the User has purchased.
Revenue Collected: The total monetary value of the transaction.
Platform Fee: The fee incurred for this transaction.
Net Amount: The total transaction value, less the fees incurred.
Module: The Module that the product(s) were sold through on your Website.
Settlement: The settlement number supplied by Member Jungle for the batch payment.
Payment Type: Payment type used, e.g. Cash, Payment Gateway, etc.
To view your batch settlement to reconcile your payments with your remittance advice from Member Jungle, select the settlement ID number from the drop down list and click Filter. (Settlements only apply to customers using the shared Member Jungle Payment Gateway).
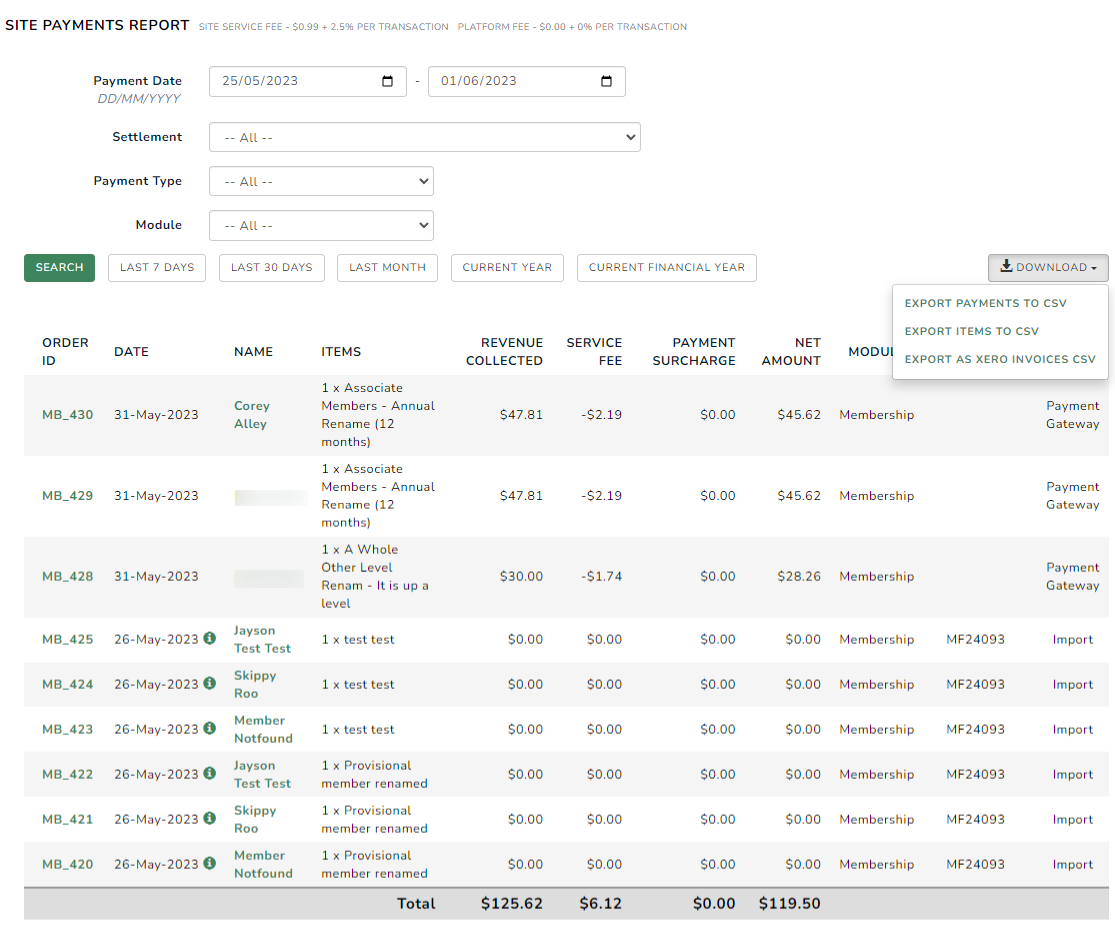
To export your results to Xero, click DOWNLOAD --> EXPORT AS XERO INVOICES CSV button. If the button doesn't appear, you likely haven't entered your account code in External/Xero Accounting Code in your Organisation Settings. This should be the income account in your accounting software that you wish to allocate the payment to.
Please note that the "Export To Xero" button will produce a csv report that is suitable to import the payments into most accounting software. Some headings may need editing depending on the settings in your accounting software.
For further information on the Site Payments Report, see this article
IMPORT PAYMENTS INTO YOUR ACCOUNTING SOFTWARE
To import your invoices in to Xero (example shown below) or other accounting software, you will first need to produce a Site Payment Report & Export to Xero.
You will also need to have an account code set up in the External/Xero Accounting Code in your Organisation Settings. This should be the income account in Xero that you wish to allocate the payment to.
The Xero export shows all the fees and line items:
- A line for each item the member purchased.
- A line for the service fee being passed on to the member (as you have your fees being passed on).
- A line for the service fee being deducted by us as part of the transaction.
The reason for this is so that the total is the correct amount of money you receive for that transaction. If you don't want it to show the service fee deduction, you can remove it from the spreadsheet by filtering out rows with "Service Fee" as the Description before importing into xero.
Follow the steps you'll see on your screen.
Step 1: Download your invoices template file.
Step 2: Copy your invoices into the template.
Step 3: Import the updated template file. For this step, you need to click 'Browse' > select the CSV file and follow the options below.
Would you like to update the contact address details? : YES
Is the UnitAmount field tax inclusive or exclusive? : TAX Inclusive
See below video for further steps:

