
How to create a scheduled event email
Note: If you are using restricted access settings on your website for each membership level, anyone who has event administration access will only be able to send scheduled emails to their restricted member levels. All other access remains the same. Please see more details here: Restricted Membership Access.
To successfully send emails that are scheduled, the event must be "active." Otherwise, you will see this message on your screen:


Also, if members and users have specifically opted out or Muted receiving marketing emails they will also not be able to receive the event's scheduled email. see Mute all Marketing Emails.
Under the Event Module, create a scheduled event email by clicking the edit icon  on the 'active' event. On your screen, you'll see the 'Emails' tab. Next click 'Add Schedule Email'.
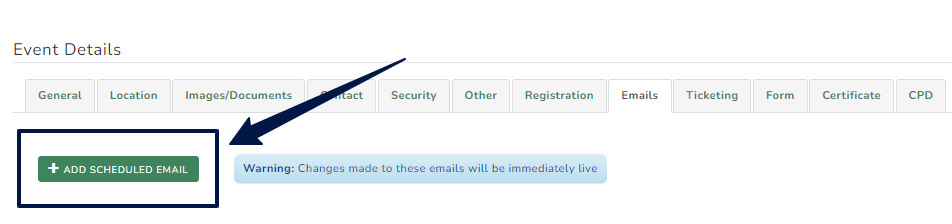
You must complete a number of fields in order to schedule emails.

- Subject: This is a single line of text people see when they receive your email.
- From: This is the sender email address.
- Copy To: (otherwise known as CC) This address will also receive a copy of the email.
- Reply To: Replies from the recipients will be sent to this address instead of the 'from' address.
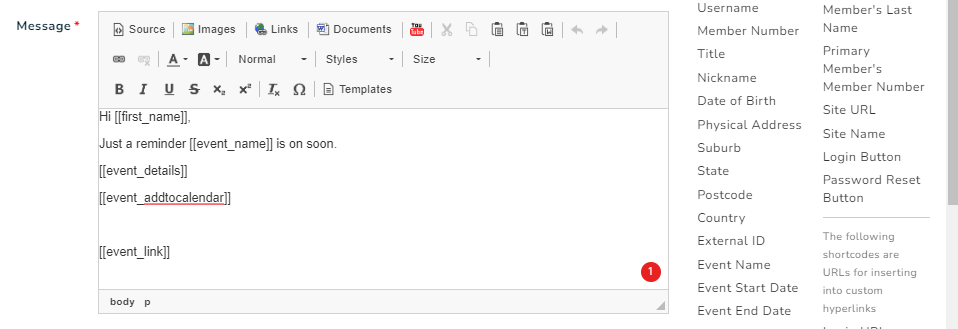
- Message: This is the email body or actual text of the email. You can type your email from scratch in the Message field, or you may wish to use the dynamic fields in the right column of the screen to have the system populate the information from the member database for you. To insert these fields, simply click on the field you wish to use to insert it into your email.
-
Wrap Email Sample Unwrap Email Sample 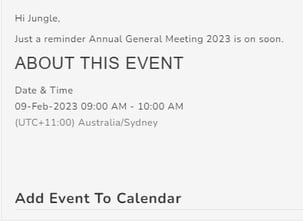 Include Header and Footer: You can either tick on/off to wraps/unwraps the email with standard header and footer
- Release Schedule - Relative Date: This is in relation to the event. You can send an email to your audience either before/after the event. This will give you an option to promote the event to all members either they are subscribed/ or not subscribed yet.


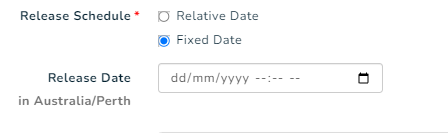
- Release Schedule - Fixed Date: Set the date as to when you would like to send emails to your chosen recipients, unrelated to the event date.
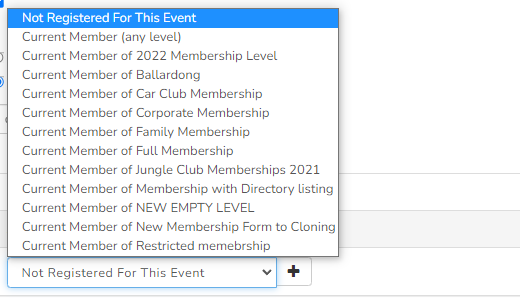
- Email Audience: You can choose the recipients of your events email by clicking the dropdown menu.
Note: The 'Not Registered For An Event' filter encompasses users who are current, expired, or removed, as well as those without an active membership (including users who joined in previous events and have existing accounts, accessible under Settings. More details here: Searching a User ).
Select the recipients from the list. The available options include members who belong to a different membership category or those who are not yet enrolled for the event.
- Cancel: You can cancel the email you created by clicking the button 'cancel' on the lower right side of the pop-up screen
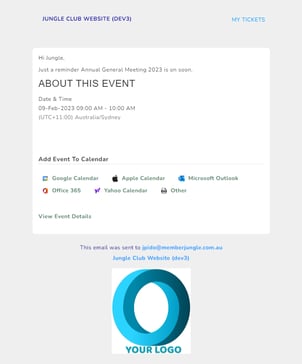
- Preview Email: Click the 'Preview Email' to view the email template.
- Preview Recipients: You can view the receiver of the email by clicking the 'Preview Recipients' button.
- Save: Click Save to save the email.

Activating Scheduled Events Email
Once your scheduled email is saved, you will be back on the 'emails' tab screen. The scheduled event email you have just created is automatically inactive. This means you need to activate it manually to successfully send this email to the recipients. Click the square icon  on the relevant email to activate
  .
.
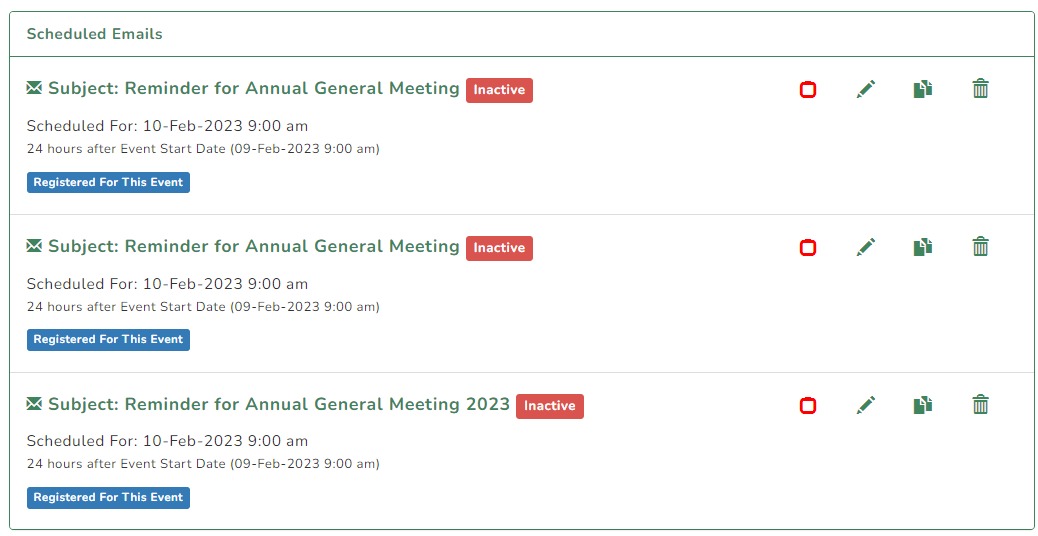
- Clone an email:
 You can clone either a draft scheduled email or you can scroll down to past emails and clone them from there. To clone an email click the Clone icon next to the selected email. The cloned copy will then show up as "inactive" in the scheduled email list. The email may then be finished and edited using the editor.
 -
Delete an Email Message:
 To Delete an Email Message click the Delete icon next to the relevant email. Click OK on the pop up to confirm the Deletion.
 -
Edit Email Message:
 Click the Edit icon, to edit the email "from" address, subject, and content. Click Preview to see a preview of the email. Click Save & Close to save your changes and return to the 'Emails' tab.
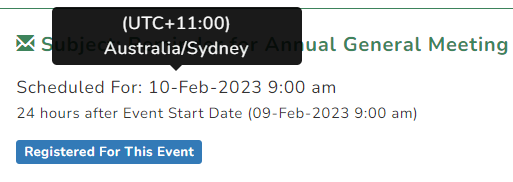
 - Time zone: Hover your mouse over the day when the email is due to be sent, to see the timezone that the email is scheduled for.
Sent Emails
You will see on your screen the previous emails sent specifically for the event. You can preview recipients of the sent email by clicking this icon  .
.

**Note** Event scheduled emails are available to all Standard and Premium Member Jungle subscriptions. If you would like to discuss moving onto one of these plans, please raise a support ticket to discuss your options.