
- How to View Events on the App?
- How to Register for Events?
- How to Purchase Tickets for Events?
- How to Scan and Manage Event Attendance?
How to View Events on the App?
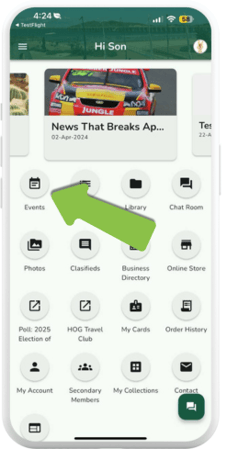
To view your organisation’s events, log in to your club on the Member Jungel mobile app. Tap the Events icon on the app’s home screen. This will display a list of upcoming events from your organisation’s calendar.
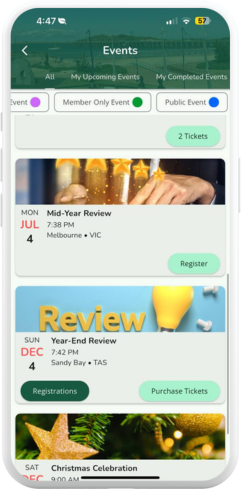
Use the navigation bar at the top to filter events by type or category, and view all, upcoming, or completed events. You can also filter to see events you have registered for or purchased tickets to.
.png?width=227&height=449&name=APPROVER%20(2).png)
.png?width=227&height=449&name=APPROVER%20(3).png)
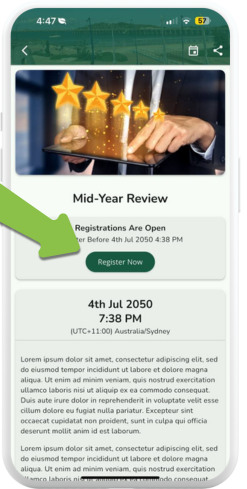
For more details about an event, simply tap on it. In the top-right corner of your screen, you can add the event to your calendar or share it with others (as shown in the image on the right).
-1.png?width=247&height=489&name=APPROVER%20(2)-1.png)
How to Register for Events?
Register-Only Event / Non-Ticketed Event: This type of event does not require payment. To register, tap the Register button, or select the event to view its details and tap Register Now.
-2.png?width=247&height=489&name=APPROVER%20(2)-2.png)
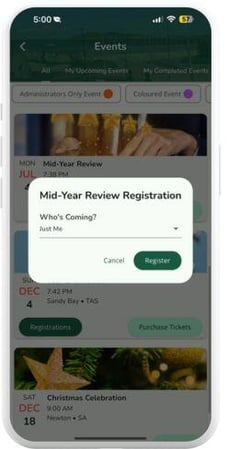
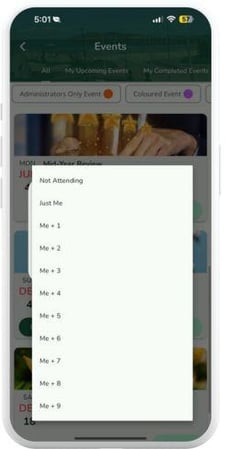
After tapping Register, a pop-up will appear asking you to select the number of registrants. Once selected, you will be automatically registered for the event.
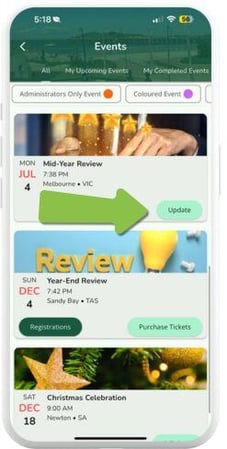
The Register button will then change to Update if not a custom label, allowing you to adjust the number of registrants attending with you.
You will receive a confirmation email for your registration if the event admin has enabled this feature during event creation.
How to Purchase Tickets for Events?
A Ticketed Event requires payment to register.
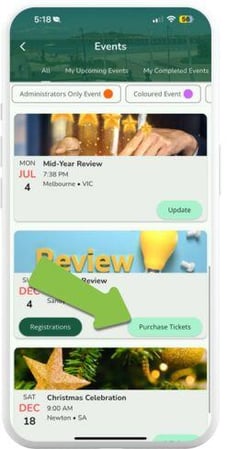
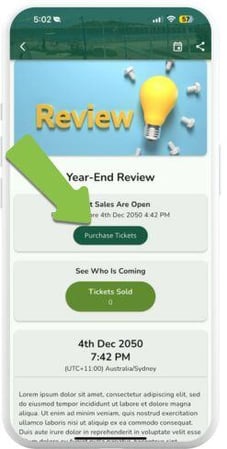
1. To purchase a ticket, tap Purchase Tickets from the events list or the event details page. A pop-up will appear prompting you to select the number of tickets you wish to purchase. In this example, the member is purchasing one ticket.
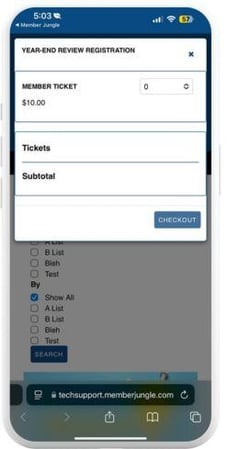
2. After selecting the number of tickets, tap Checkout. Your phone’s browser will open, and the system will ask whether the ticket is for you. If the ticket is for someone else, enter the ticket holder’s name and email address. Follow the prompts to complete your purchase.
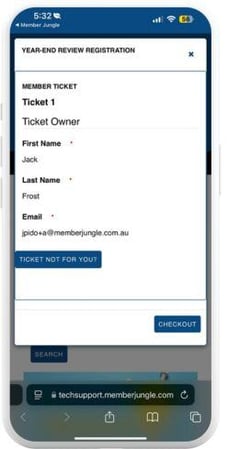
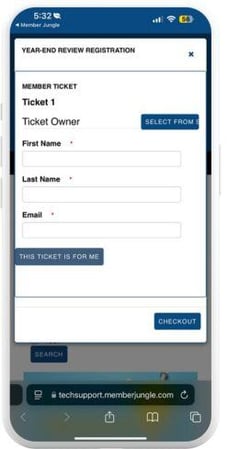
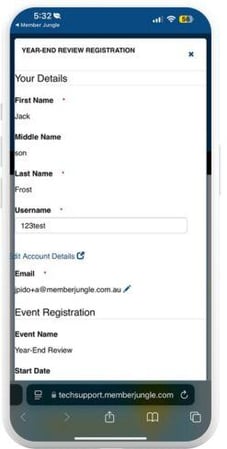
3. You will then be prompted to select your payment method. If you choose Online Payment, your registration will be automatically approved. If you select a Manual Payment option, such as cash, a pop-up message will appear, as shown in the image on the right.
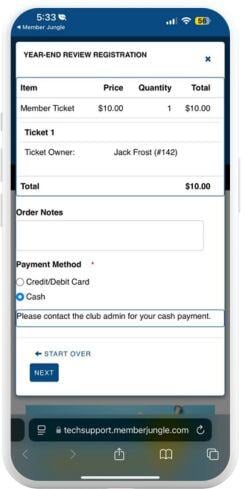
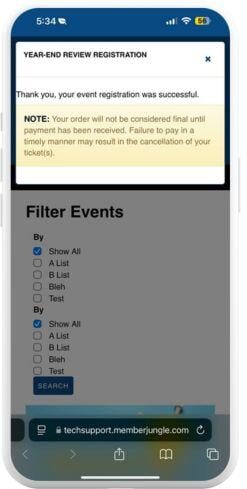
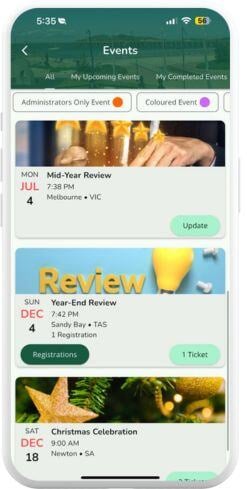
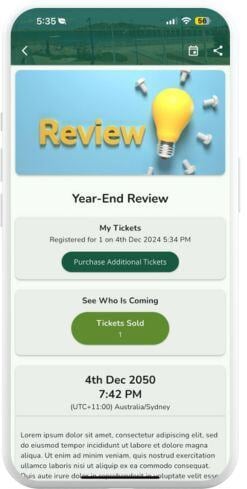
4. After completing your transaction, the number of tickets you purchased will be displayed, as shown in the image on the left. By opening the event details, you can purchase additional tickets, as shown in the image on the right.
You will then receive a confirmation email along with the event invoice.
Return to Events Main Help Document.