
In this article
Selecting the group relationships
Creating a Group Membership Level
Creating a Group Membership Product
Creating & Managing Automated Membership Emails
Selecting Group Relationships
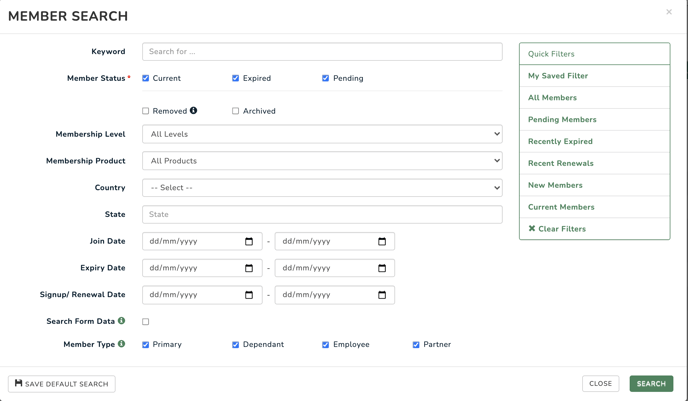
When you are setting up your group memberships you can select which relationships appear for primary members. By turning on these relationships it will give you additional functionality in membership searches to see all secondary members and filter by their relationship.
The three options are "Dependant, Partner, Employee". If you are likely to only ever have one relationship type it may not be necessary to select any of these relationship types.
- To setup your relationships please go to Membership > Global Settings
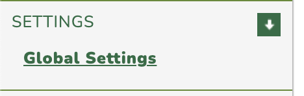
- Scroll down to Group Relationships and select which types are available to group members
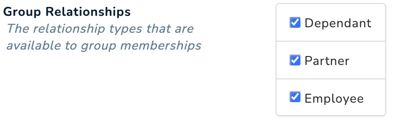
- Once you have selected the types, the primary member will be able to select the relationship when setting up secondary members and you will also see them as search options in the members advanced search.
Creating a Group Membership
To create a Group Membership, you will need to be logged in as administrator with the required access to add Membership Levels.
Go to Membership and select Membership Levels then Add level from the left navigation.
Complete the membership level details
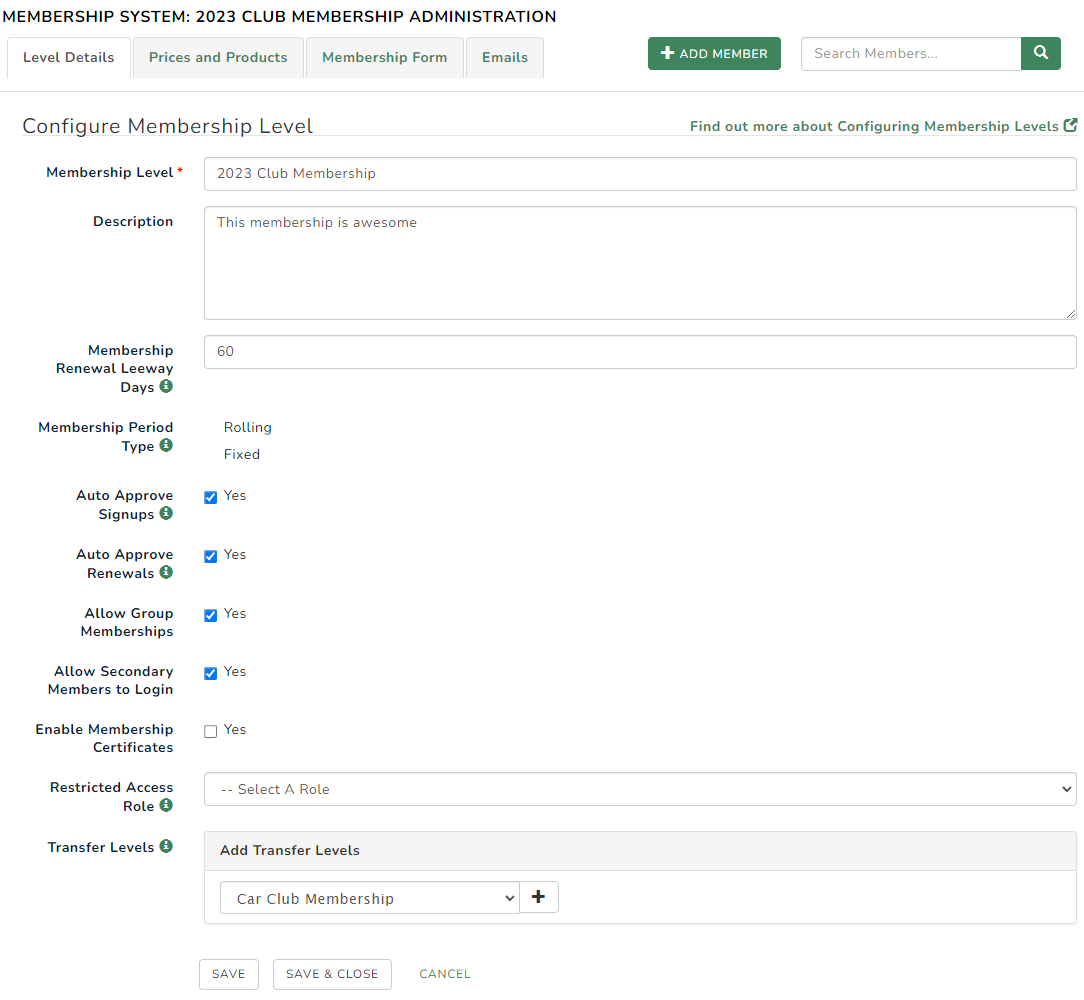
- Membership Level: Here you can add or edit the name of the level
- Description: Write a description (which is for internal use only)
- Membership Renewal Leeway Days: Leeway days are the number of days a member is allowed to renew their membership before it expires. It also means that if a new member signs up within this time that they are given the next periods membership e.g. If I have 12 month memberships and my leeway days are 30 with my memberships all expiring on the 1st of January, any new members that sign up in December will be given 13 month's membership as they are within the 30 leeway days.
- Membership Period Type: You can choose between Fixed or Rolling Membership types i.e. regardless of when a member signs up all memberships expire on a fixed date or at the end of their rolling membership period.
- Fixed date membership allows for products spanning 1 to 5 years, and perpetual.
- Rolling date membership allows for monthly, quarterly, biannual, multiple years and perpetual.
- Auto-renewing subscription products require a rolling date membership level.
- Fixed Date: If you select Fixed above you will be asked to enter the fixed date that your memberships expire. If you click on the input box it will bring up a calendar to allow you to choose the required date.
- Auto Approve Signups: Tick this option to auto-approve successful credit card payments for new signups.
- Auto Approve Renewals: Tick this option to auto-approve successful credit card payments for renewals.
- Allow Group Memberships: If this membership level should allow group memberships, select yes. This will allow a primary member to add secondary members to the membership.
- Allow Secondary Members To Login: If you membership level allows group memberships, you can select if the secondary members will be allowed login access. This will give them their own membership card and access to the mobile app.
- Restricted Access Role: If your members that own this membership level should be given a specific role, select the relevant role from this drop down list. If no role should be applied, leave empty.
- Transfer Levels: (This field will only be available when editing a membership level) If you wish to allow Membership administrators to transfer members between different levels you need to nominate which levels they can be transferred to. Select the level that you can transfer this level "to" from the dropdown list and click the + button on the right. The membership level you are transferring to must have at least one "Signup Only" or "Standard" product.
Once you have completed this form, click Save & Close.
You will see your Membership Level listed.
Creating A Membership Product
To add a new product, click on the Products icon next to your Membership level 
From the products area, select “Add Product" button located at the bottom of the product list. It will ask for you for all of the required fields.
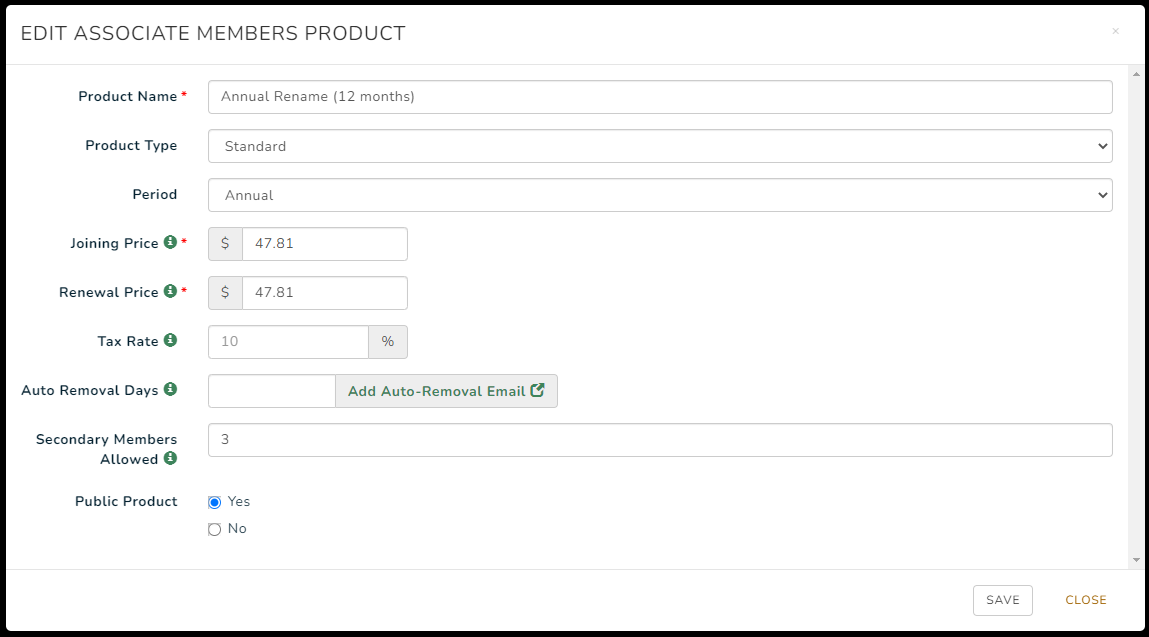
- Product Name: This is the name of the product that will appear on the front end of the website for members to select.
- Product Type: There are four different options for product type:
- Standard: A standard product is available for both sign-up and renewal.
- Signup Only: A signup only product is available only for sign-up
- Renewal Only: A renewal only product is only available for renewal.
- Auto-Renewing Subscription: Subscription products are only available to rolling date membership levels and are a completely automated subscription. Once enabled, a member can sign-up to a subscription product and save their credit card details against the subscription. Admins cannot import members into a subscription product or perform a manual renewal from a non-subscription product to a subscription product. There are additional options for subscription products:
- Re-accept T&Cs: Select whether or not you would like the member to fill out a new form and re-accept the terms and conditions every year.
- Allow Cancellations: This setting will determine if a member can cancel their auto-renewal at any stage prior to the term of duration of the membership being reached.
- Duration: The duration options will vary depending on your Membership Period Type. If you have chosen Rolling Date you will need to select from “Monthly, Quarterly, Bi-Annually, Annually, 2 Years, 3 Years, or Perpetual). If you have chosen Fixed Date you will get to select (1 year, 2 years, 3 years, 4 years, 5 years or Perpetual).
- Joining Price: This is the price of your membership for new members including any sign-up or setup fees
- Renewal Price: This is the price for all renewing members
- Auto Removal Days: Automatically removes the product from the member after 'X' days expired. This will force the member to signup again. For more details on this option see Auto-Remove Member's Expired Products
- Secondary Members Allowed: This is the number of secondary members that this product can allow per member. If left empty, the primary member can add up to 99 secondary members.
- Public Product: This determines if the membership product is available to be seen by everyone on your website or only to people who are logged in and have a certain access level. If you select “Yes” the membership will be publicly available. If you select “No” you will be given a list of all of the roles (including membership levels) that are available. Simply tick all of the roles that you would like to be able to see this new membership product. E.g. You may only offer 5 year memberships to current members and not new members. Once access is allowed, only 'current' members and members expired within 30 days can purchase a restricted membership product.
Once you have completed the form, select Save and you will see your product listed. You will need to activate your product in order for it to be purchased.
Creating Membership Forms
You can collect any information for a secondary member that you collect for a primary member, including custom datasets.
You can opt to include all fields from the primary membership form in the secondary members form, or you can select specific fields for secondary members.
To include all fields in the membership form for your secondary members, go to Membership --> Membership Levels --> List Levels and select the form icon  from the membership level you want to edit.
At the top of the form fields you will see ![]() Selecting this button will activate all custom fields in your membership form for your secondary members.
Selecting this button will activate all custom fields in your membership form for your secondary members.
To exclude all custom fields from your secondary members form, follow the above steps, and select  . This will turn off any custom form fields for your secondary members. Your primary members will still have these fields in their membership form.
To include only specific fields in the secondary member form go to your Membership Form and click the edit icon on the field. You will see a tick box "Show for Secondary Member", which you can check if you want that field to show in the secondary member form.

Note: The secondary member forms will assume the same "Required" setting as the primary member, so if you want date of birth required for primary members and choose to include it for secondary members, it will also be required.
See Managing Your Membership Forms for further instructions.
Creating Automated Membership Emails
Every membership level has its own set of automated emails that are sent during the membership sign up and renewal process. You can customise these emails per level. See Managing Automated Membership Emails for instructions.