
To access the Security module, log in and click the SECURITY icon.

The following sections are covered in this article:
Aside from creating users manually, there are several ways someone can end up with a user account:
- A new member stars an application and gets past the create account step.
- Purchase a ticket or register to attend an event.
- Purchase a product from the store.
- Imported into an email campaign.
Create an account manually in Security
- Click ACCOUNTS then Accounts on the left hand menu.
- It is important to ensure that there are no duplicate User identities for a single person. For this reason, it is recommended that you carry out a user search prior to creating a new account.
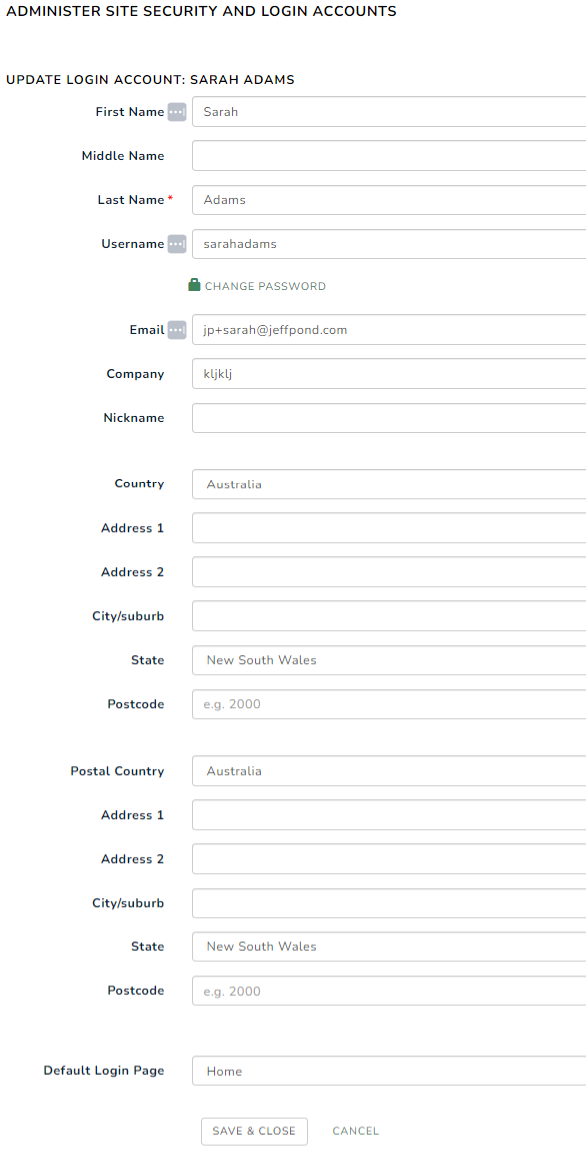
- Once you have carried out a search and ensured the User does not have an existing account, complete the Account Details form under User Accounts - Add Account.

- Fill out the Add Login Account form as follows.
-2.png?width=688&name=rtaImage%20(1)-2.png)
- Click Save & Close to save the new user.
Import User Accounts
To import an existing list of User Accounts, select Accounts, then Import Accounts from the left hand menu bar.

- Enter the following details

- Role: Select the Role of the Users you are importing. If the Users dont have a Role, select No Role.
- Role Expiry Date: If the Role has an expiry, enter this.
- Renew All Roles: Update role expiry of all roles to match.
- CSV File: Browse and select the CSV file of Users you wish to import.
- Click Import, and wait to load.
Export User Accounts
To export an existing list of User Accounts, select Accounts, then Export Accounts from the left hand menu bar.

Complete the search bar fields for the User you wish to export. To export all Users, leave the fields blank, select Show All Accounts, and click Search.

The results of your search will appear in a list.
Select the Export button, on the bottom of your results list.

Select if you wish to open, or save the Exported file, and click OK.
View User Details
-1.png?width=688&name=rtaImage%20(4)-1.png)
If you click on the users name, you will get a pop up screen that will show the users details.

Account Tab
If a user has forgotten their password, you can click RESET PASSWORD to send the user a reset password link.
You can update a users password for them, but you cannot see or retrieve their current passwords anywhere on a Member Jungle site.
A user can also click the "Forgot Password" link at the login screen if they wish to reset their password.
Notes Tab
-1.png?width=676&name=rtaImage%20(6)-1.png)
Here you can see all audited actions against the user's account. Great for checking membership renewals and if system emails were sent or not.
You can also manually add notes against a user by clicking on the "Add Note" button.
Events Tab
-1.png?width=478&name=rtaImage%20(7)-1.png)
This tab shows the details for any tickets purchased or events registered to attend.
Emails Tab
Any system emails sent will also appear as a record here. Emails can be viewed by clicking the email icon.
-1.png?width=688&name=rtaImage%20(8)-1.png)
Store Orders
Any orders purchased via the store will also appear here.
-1.png?width=688&name=rtaImage%20(9)-1.png)
Account
The Account area is where you can view and edit your personal details and password.
- To enter the Account details area, click on the Dashboard tab from the top menu bar, and select Account.
- You will see all your current details. Edit any details you require by highlighting the field and typing the new information.
- When you have completed your edit, click Save & Close
Account Creation - Add Title to account (Mr, Mrs, Dr etc) - Admins only
An Admin can edit the Form fields for 'Account Creation' under Membership levels and select an option to add 'Title' to the captured data surrounding Account Creation.
- Click 'Membership Form' under the relevant membership level and then click 'edit'.
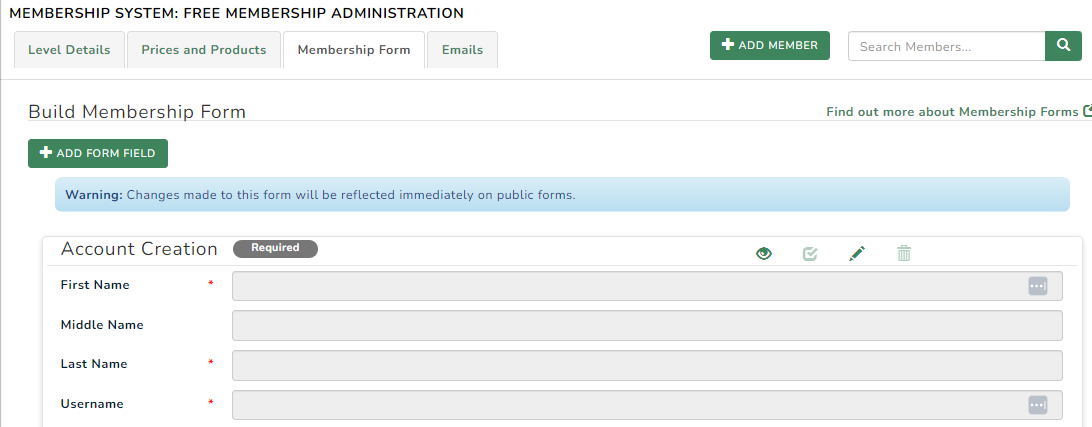
- Tick the 'Show Title' box and then this extra information will be captured and displayed when viewing a members details or exporting member details.
.jpg?width=334&name=rtaImage%20(2).jpg)
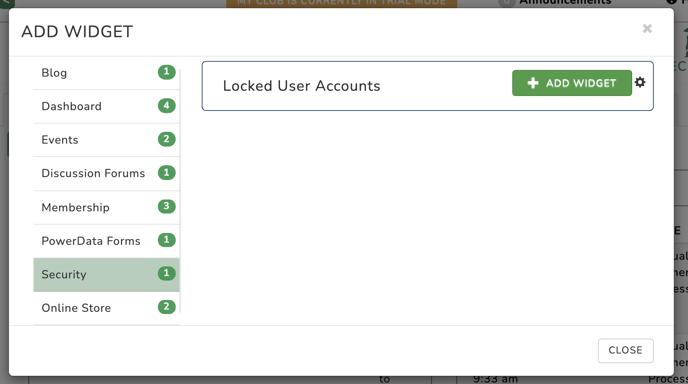
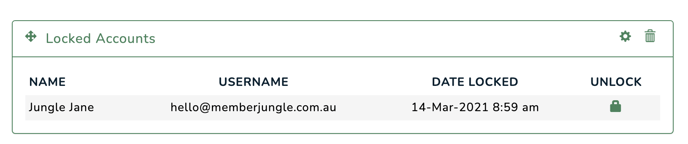
Locked User Accounts
If a user forgets their password, or makes too many incorrect attempts at their password (the default is 10 attempts for most sites), they will be locked out of the site, and a lock icon will appear next to their name  .
.
- The only way to unlock a user, is for administration to log in, and unlock them.
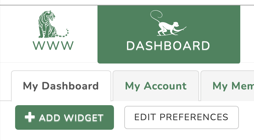
- The easiest way to unlock a user is from the Dashboard Widget called "Locked User Accounts". If you do not currently have the widget on your Dashboard, go to Dashboard and click "Add Widget"
- Select Security and click "Add Widget" next to the Locked User Accounts widget
- You can then easily see all locked users on your dashboard and unlock them by clicking the "Lock Icon" under the Unlock Heading
- Alternatively, to unlock a user, click on the Security module, and select User Accounts> Accounts from the left side menu.
- Search for the users name, and click on the lock icon next to their name, to be prompted to unlock the user.
It may be a good idea at this stage to reset the users password for them to avoid a re-occurrence.