Image Library
Uploading and using the image library.
To edit, upload, resize or delete an image from a website page you will need to go to the Content Editor screen for the page that you wish to edit.
Adding & Uploading an Image
- To add an image you to your page click on the Images Icon in the Content Editor (See Using the Editor)
 .
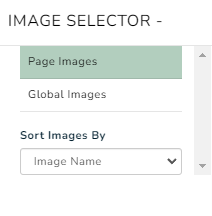
. - The Image Library will appear in a popup window (as shown on the right) which will feature any images that you already have in your library and give you the option to upload a new image.
.jpg?width=600&name=rtaImage%20(87).jpg)
- Before uploading your image ensure that it is already optimised for the website i.e.
- Ensure the images dpi (dots per inch) is at 72.
- Ensure that the image is cropped, that is any unnecessary background has been removed.
- And that the image is approximately the size that you want to use on the page. The maximum size image that you should upload to your PowerSite is 650 x 450 however the smaller the image the quicker it will upload to your site.
- Select the Image Availability option to specify whether the image is available site-wide (global) or only on the page you are editing. (Unless you intend to use the image on multiple pages just upload your image as a page image.)
- Once you select the image availability and your image is ready, click the
 . Please note only gif. jpg. and png. image files will be allowed.
 - A pop-up window will appear that will allow you to browse your computer to find the image that you wish to upload.
 .
. - Use the Select Image field to locate the image you wish to use on your local computer.
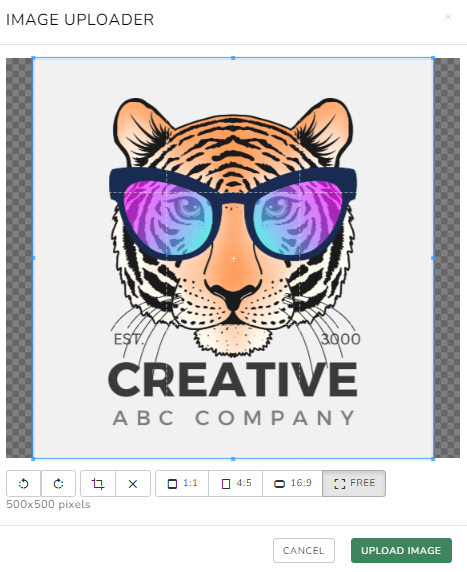
- Upon selecting an image, you will have the option to edit the chosen image using the available editor below before proceeding with the upload.
- Once your image has been uploaded the Image Library Pop-up window will appear with a message telling you that your image was successfully loaded.
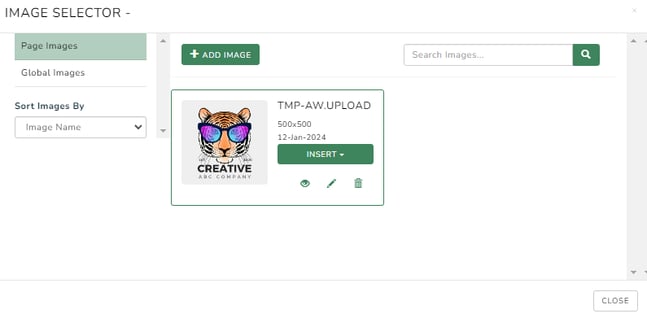
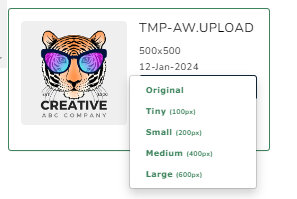
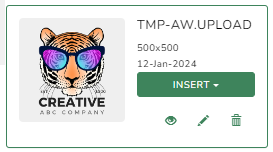
- Click on the Insert button, to select which size you would like to insert your image.
- You can also click on the eye image to view the image, the edit icon to rename the image, and the trash can to delete the image from the library.
Deleting an Image from Image Library
Note: This deletes images from your library, not from the content in your page. Use it where you have images in your library that you are not using.
- To delete an image from your Image Library click on the Image Library Icon in the Content Editor. (See Using the Editor)
- Click on the Delete icon located to the right of the required image.
Deleting an Image from page content

- To delete an image from your page content click on the desired image in the Content Editor until handles appear as shown on the right and press the delete button on your keyboard.
Editing an Image in your Page Content
- To edit the image properties click on the desired image in the Content Editor until handles appear as shown on the right.
- Right click on the Image to produce the Image editing list. Select Image Properties.

- A pop-up window will appear containing a number of different fields with information about the selected image.
- URL: disregard this field
- Alternative Text: Any text entered in this field will appear when a website visitor holds their cursor on the selected image. You can enter a short description of the image here.
- Width: This field allows you to determine the size of the image via the width. To scale height and width independently click the lock icon to the right to unlock ratio scaling.
- Height: This field allows you to determine the size of the image via the height. To scale height and width independently click the lock icon to the right to unlock ratio scaling.
- Border: This field allows you to enter the width of the border around your image. (0= no border & 9 = wide)
- HSpace: This field allows you to edit the horizontal padding around the image (left & right)
- VSpace: This field allows you to enter the vertical space around the image (above and below)
- Align: Choose from a dropdown box as to where you would like to align the image in regards to the rest of the page i.e. left, right, top, and bottom.
-
Once you have completed editing the image click on the Ok button and you will be returned to the Content Editor.
