
- How to add the online store to the App?
- How to add Products to the App?
- Featured Products on the Mobile App
- How Members can Purchase Products via the Mobile App
- How Administrator can Purchase Products on Behalf of Members?
- How to Create a Custom Product When Purchasing an item via the Mobile App?
- How to purchase items for non-members/users as an admin?
How to add the Online Store to the App?
To add the online store to the app, go to Modules > Member Jungle App > App Settings > tick online store.
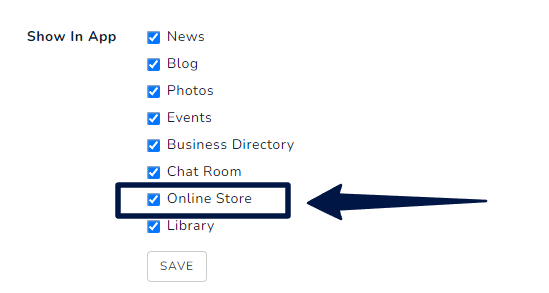
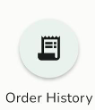
After ticking, two new menu options will become available on the app.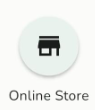
How to add Products to the App?
To add products to your app, go to Modules > online store > Products > Select the product you want to display on the app by clicking the app icon under the availability tab.
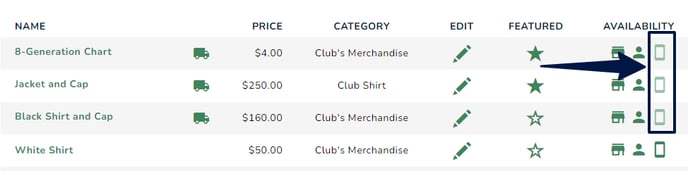
Select the 'Member Jungle App' from the dropdown option and click ![]()

Then, manually activate the product by ticking the red square ![]() to
to ![]() .
.

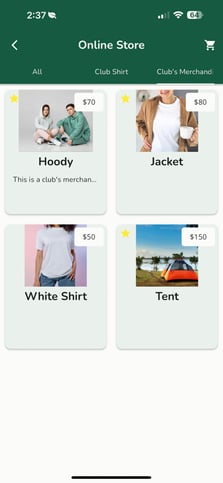
Featured Products on the Mobile App
Once logged in to the app, you should see all of your featured products with the 'star' icon.
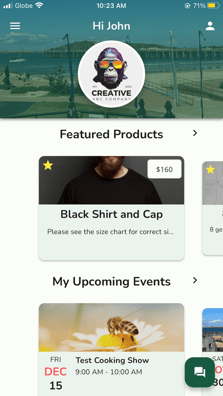
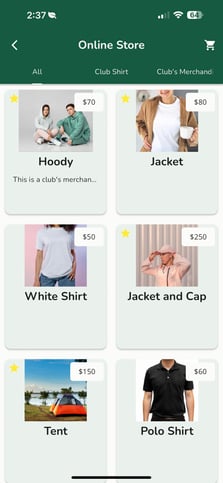
To view all the products you added to the mobile app, you can click the 'Featured Products' or go to the online store menu
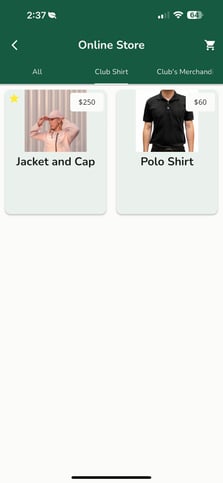
You should see all the products either 'All' or by 'Category'
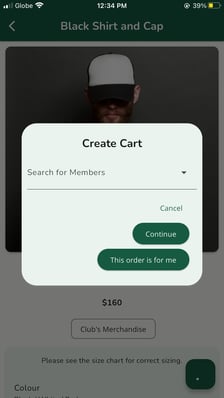
How Administrator can Purchase Products on Behalf of Members?
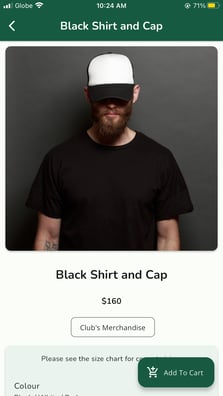
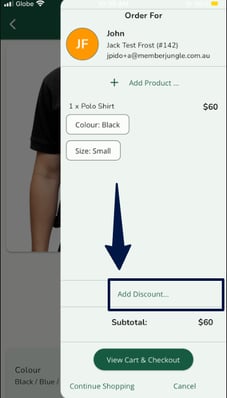
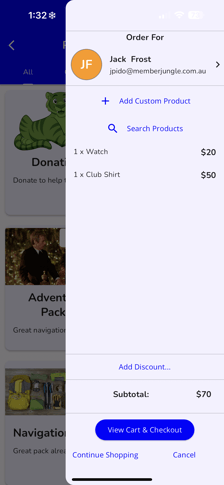
To create an order on behalf of members, select a product and click the 'add to cart' icon. A pop-up screen will appear, allowing you to choose whether the order is for members or for yourself.
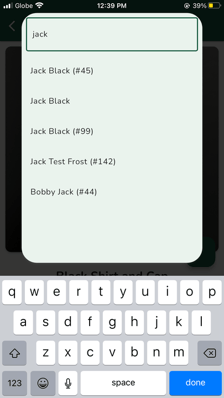
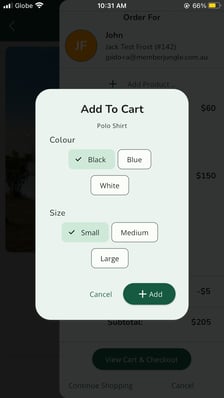
To create an order for members, use the search field to find the member. Select the member's name and click 'continue.' If the product requires a selection of colour or size, another pop-up screen will appear for you to make the necessary choices.
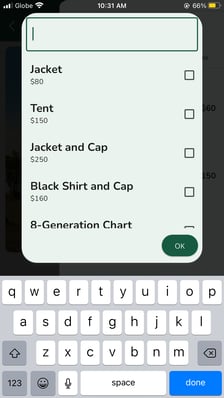
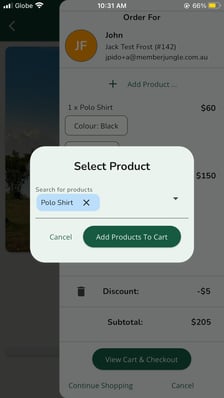
To add another product, just simply click the ' + add product' located below the name of the member. Check the box for the additional product. If the product requires a choice of colour and size, another pop-up will appear on your screen.
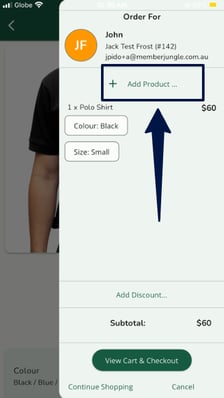
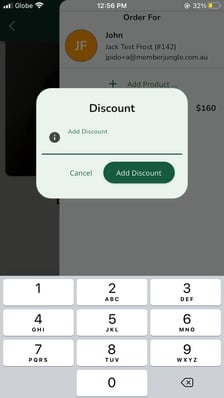
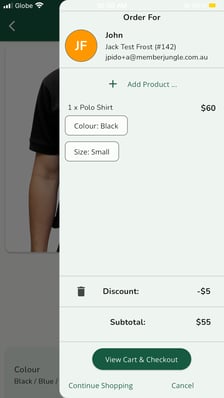
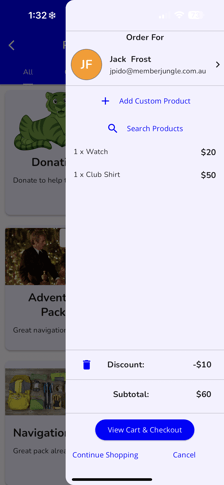
You can manually add a discount to the orders, just simply click the ' Add Discount ' field , enter the amount and click 'add discount'

To check out, click ![]() . View the member's cart and click continue.
. View the member's cart and click continue.
.png?width=224&height=398&name=img_4585%20(1).png)
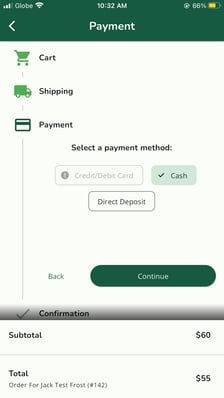
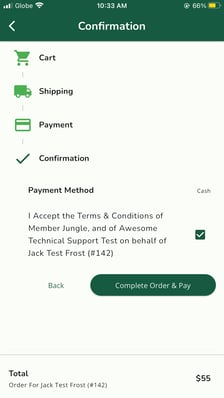
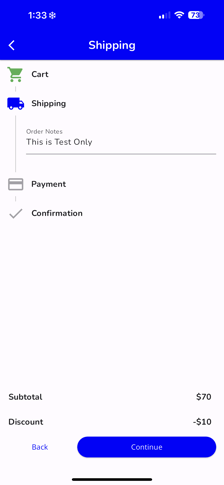
Select the shipping method, payment method , tick the terms and condition on behalf of the member and click 'Complete Order and Pay'.
.png?width=224&height=398&name=img_4586%20(1).png)
There will be an automated confirmation email that will be sent to the member. You can view the members' orders under the online store Module > Orders.
How to Create a Custom Product when Purchasing an item via the Mobile App?
As an administrator with the necessary permissions, you can now add a 'custom product' seamlessly through the mobile app.
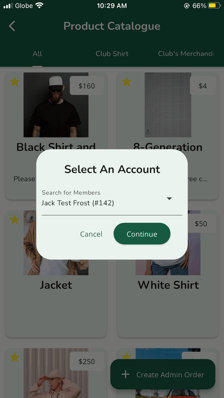
Log in as an admin. Go to the online store > click the button ' + Create Admin Order'.
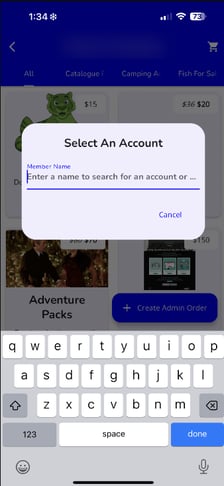
Step 1 . Select an Account: Look for the user using the search field.
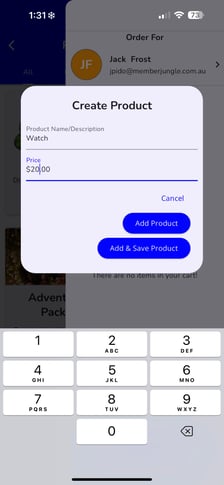
Step 2. Create a Custom Product: Tick the option '+ Add Custom Product'. Add the product name/description and price. You can select either 'Add Product' or 'Add & Save Product'.
If you opt for 'Add and Save Product', the custom product will be placed in the custom product category. It's important to note that this particular custom product will exclusively appear on the mobile app unless edited under the custom product categories. This option is equivalent to the previously mentioned 'Save for Reuse' functionality.
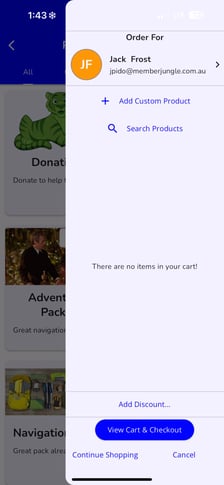
To include another product, you can either repeat the process for a custom product or click 'continue shopping' for existing products.
To add a discount, click ' Add Discount '. Enter the amount and this will automatically deduct the total amount.

Step 3. View Cart & Checkout: For shipping, you can leave notes against the order if needed. Please note that the custom product doesn't have a shipping cost.
Step 4. Payment: Select the payment method.
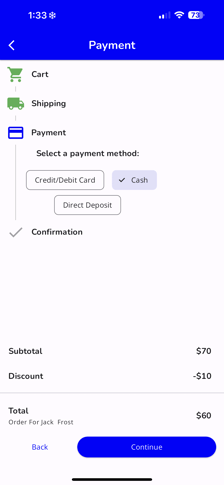
Step 5. Confirmation: Tick the box to accept the terms and conditions on behalf of the member. Once done, click 'Complete Order & Pay'
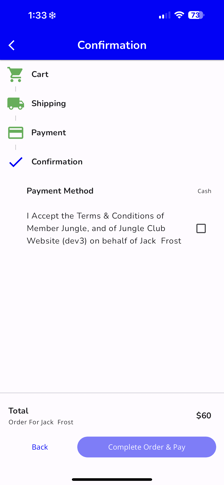
Note: A confirmation email, along with the attached invoice, will be sent to the member. To view the order, you can find it under the 'Orders' menu.
How to purchase items for non-members/users as an admin?
Navigate to online store > + Create Admin Order.
Step 1. Create an Account. To create an account, use the search field and select 'Create an Account'. Fill in the necessary fields. Once done, select continue.


Step 2. Add to Cart: At this stage, you have the flexibility to add a custom product or utilise the search option to include existing products. This process closely aligns with the steps for adding a custom product and purchasing a product on behalf of members. In addition, you can add discounts if needed.


Step 3. View Cart & Checkout: This stage differs if the product is a 'custom product' or a standard product. It's important to note that 'Custom products' do not inherently include a shipping option unless edited within the 'Custom Products Category.' In contrast, standard products prompt for a shipping address if 'delivery' is chosen as the shipping method.

Stage 4. Payment Method. Select the payment method.

Step 5. Confirmation. Tick the box to accept the terms and conditions on behalf of the member. Once done, click 'Complete Order & Pay'

Note: A confirmation email, along with the attached invoice, will be sent to the member. To view the order, you can find it under the 'Orders' menu. To look for the created account, you can view this under security. More details here: Searching for a Use