
How to Enable and Process Manual Payments for Events
Enable Manual Payments for Events
First, jump into the Events Module and select PAYMENT SETTINGS in the left navigation. Note: If this page is unavailable, manual payments may not be available on your current package. Please contact us for more details.
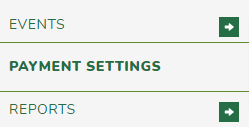
From here you will be presented with a list of tabs for various payment types.

Select the tab for the payment type you wish to configure. For this example we'll use Direct Deposit but the fundamentals are the same.
You now have a couple configuration options.
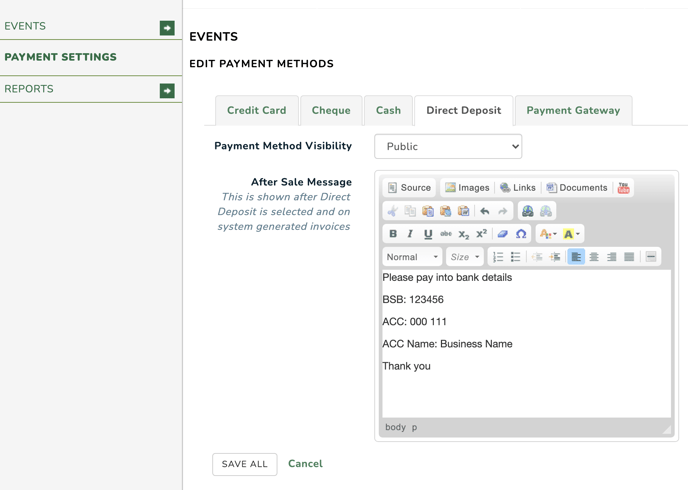
Payment Method Visibility:
- Disabled: No one is able to use this payment type.
- Admin Only: Only administrators are allowed access to this payment type for use on behalf of members.
- Public: Everyone has access to this payment type.
After Sales Message: This message is presented after payment is submitted. Here you should enter your bank account details and any additional message you would like displayed after payment.
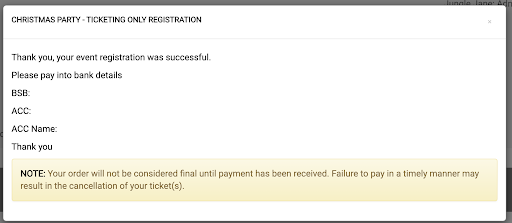
The content of the After Sales Message is also included on the invoice that is emailed to the purchaser as well as the invoice available on the website.
Click SAVE ALL to save the settings.
Processing Manual Payments
To view event ticket payments go to the events dashboard and click the tickets icon for the event you would like to view payments for. 
You will now see a list of payments.

Payments held pending are displayed with a red hourglass.
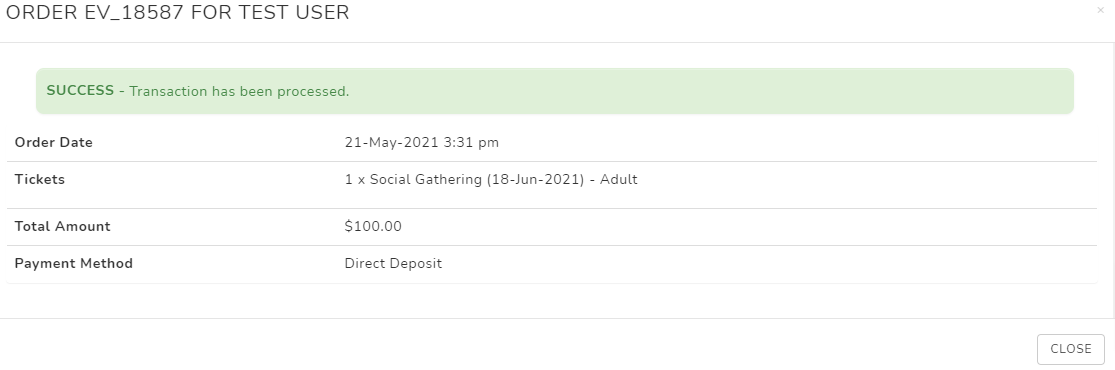
To confirm a pending payment, click the payment amount. This will display a popup window with the payment details.
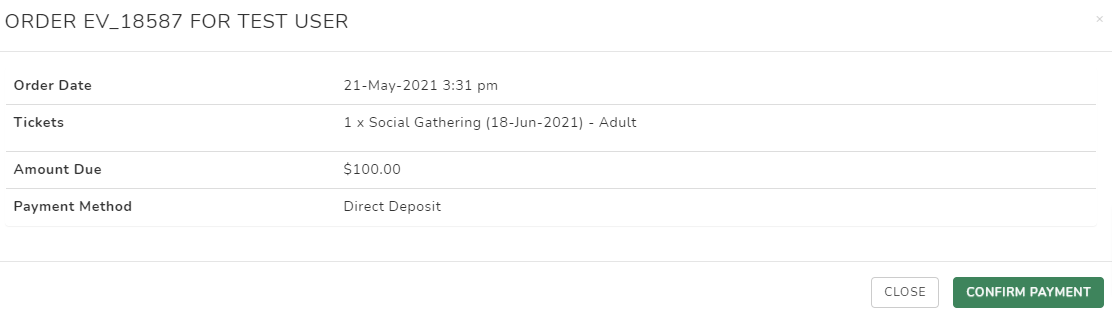
If you're happy the payment has been made, click CONFIRM PAYMENT to process the payment. You will get a confirmation the payment has been processed.
For details on selling event tickets, please see this article: Selling Event Tickets.