The directory displays business names, contact details, descriptions, images or logos, and locations, allowing you to present business information in an organised format on your website. Members can also create their own business listings and manage them through their member accounts, depending on the permissions and settings configured by the administrator.
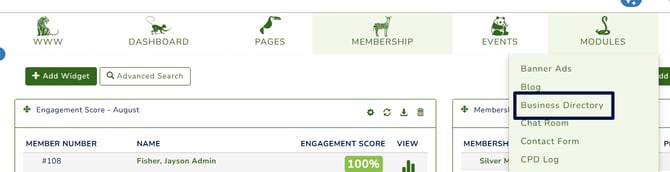
To access the Business Directory module, please go to MODULES > Business Directory.
This functionality is not available with all packages. Please feel free to submit a support ticket if you need further assistance.
-
How to Set Up the Business Directory Module
-
Business Directory Home
-
Create, Edit, or Delete Categories
-
How to Set Up the Business Directory Module
The Business Directory page is set up by default in your system. If you don't see it, please see here. Add a New Page
Business Directory Home
This dashboard provides an overview of the available options for managing your website’s business directory.
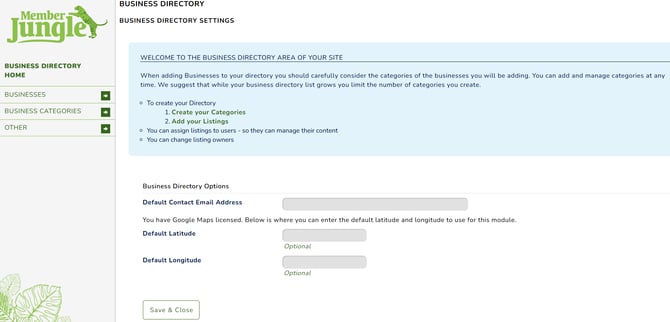
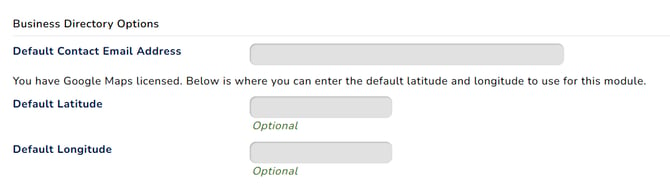
The default contact email address will receive system notifications when listing owners make changes to their listings. If this field is empty, the website email address nominated under Organisation Details will receive these notifications.
Create, Edit, or Delete Categories
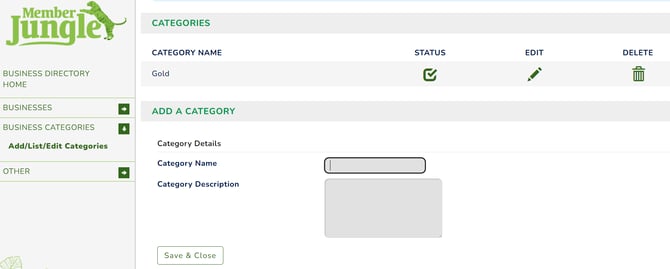
To create a category, navigate to the Add a Category section and enter the category name and description, if applicable.
To delete a category, click the bin icon next to the category you want to remove.
To edit a category, click the pen icon next to the category and make the necessary changes.
How Members Create Their Listing
Members can create their business listing during signup or renewal. Once their membership is approved, the listing will be automatically approved and will inherit the expiry date of their membership. Once the membership is renewed, the business listing will also be renewed.
Members can add further details to their listing by navigating to their account and selecting the Listings tab. Member's Listing tab
To allow members to create their listing during signup or renewal, administrators must ensure that the Business Directory field is added to the relevant membership form before the member signs up or renews their membership. Managing Your Membership Forms.
If the listing was created outside the signup or renewal process, the listing status will appear as Pending from the member’s perspective. The listing will be inactive by default and will require an administrator to activate it.
How to Manually Create a Listing as an Admin
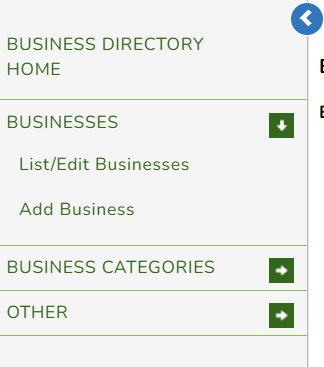
From your left navigation, click 'Add Business'.
Complete the fields with the Business details. Fields with a * are mandatory.
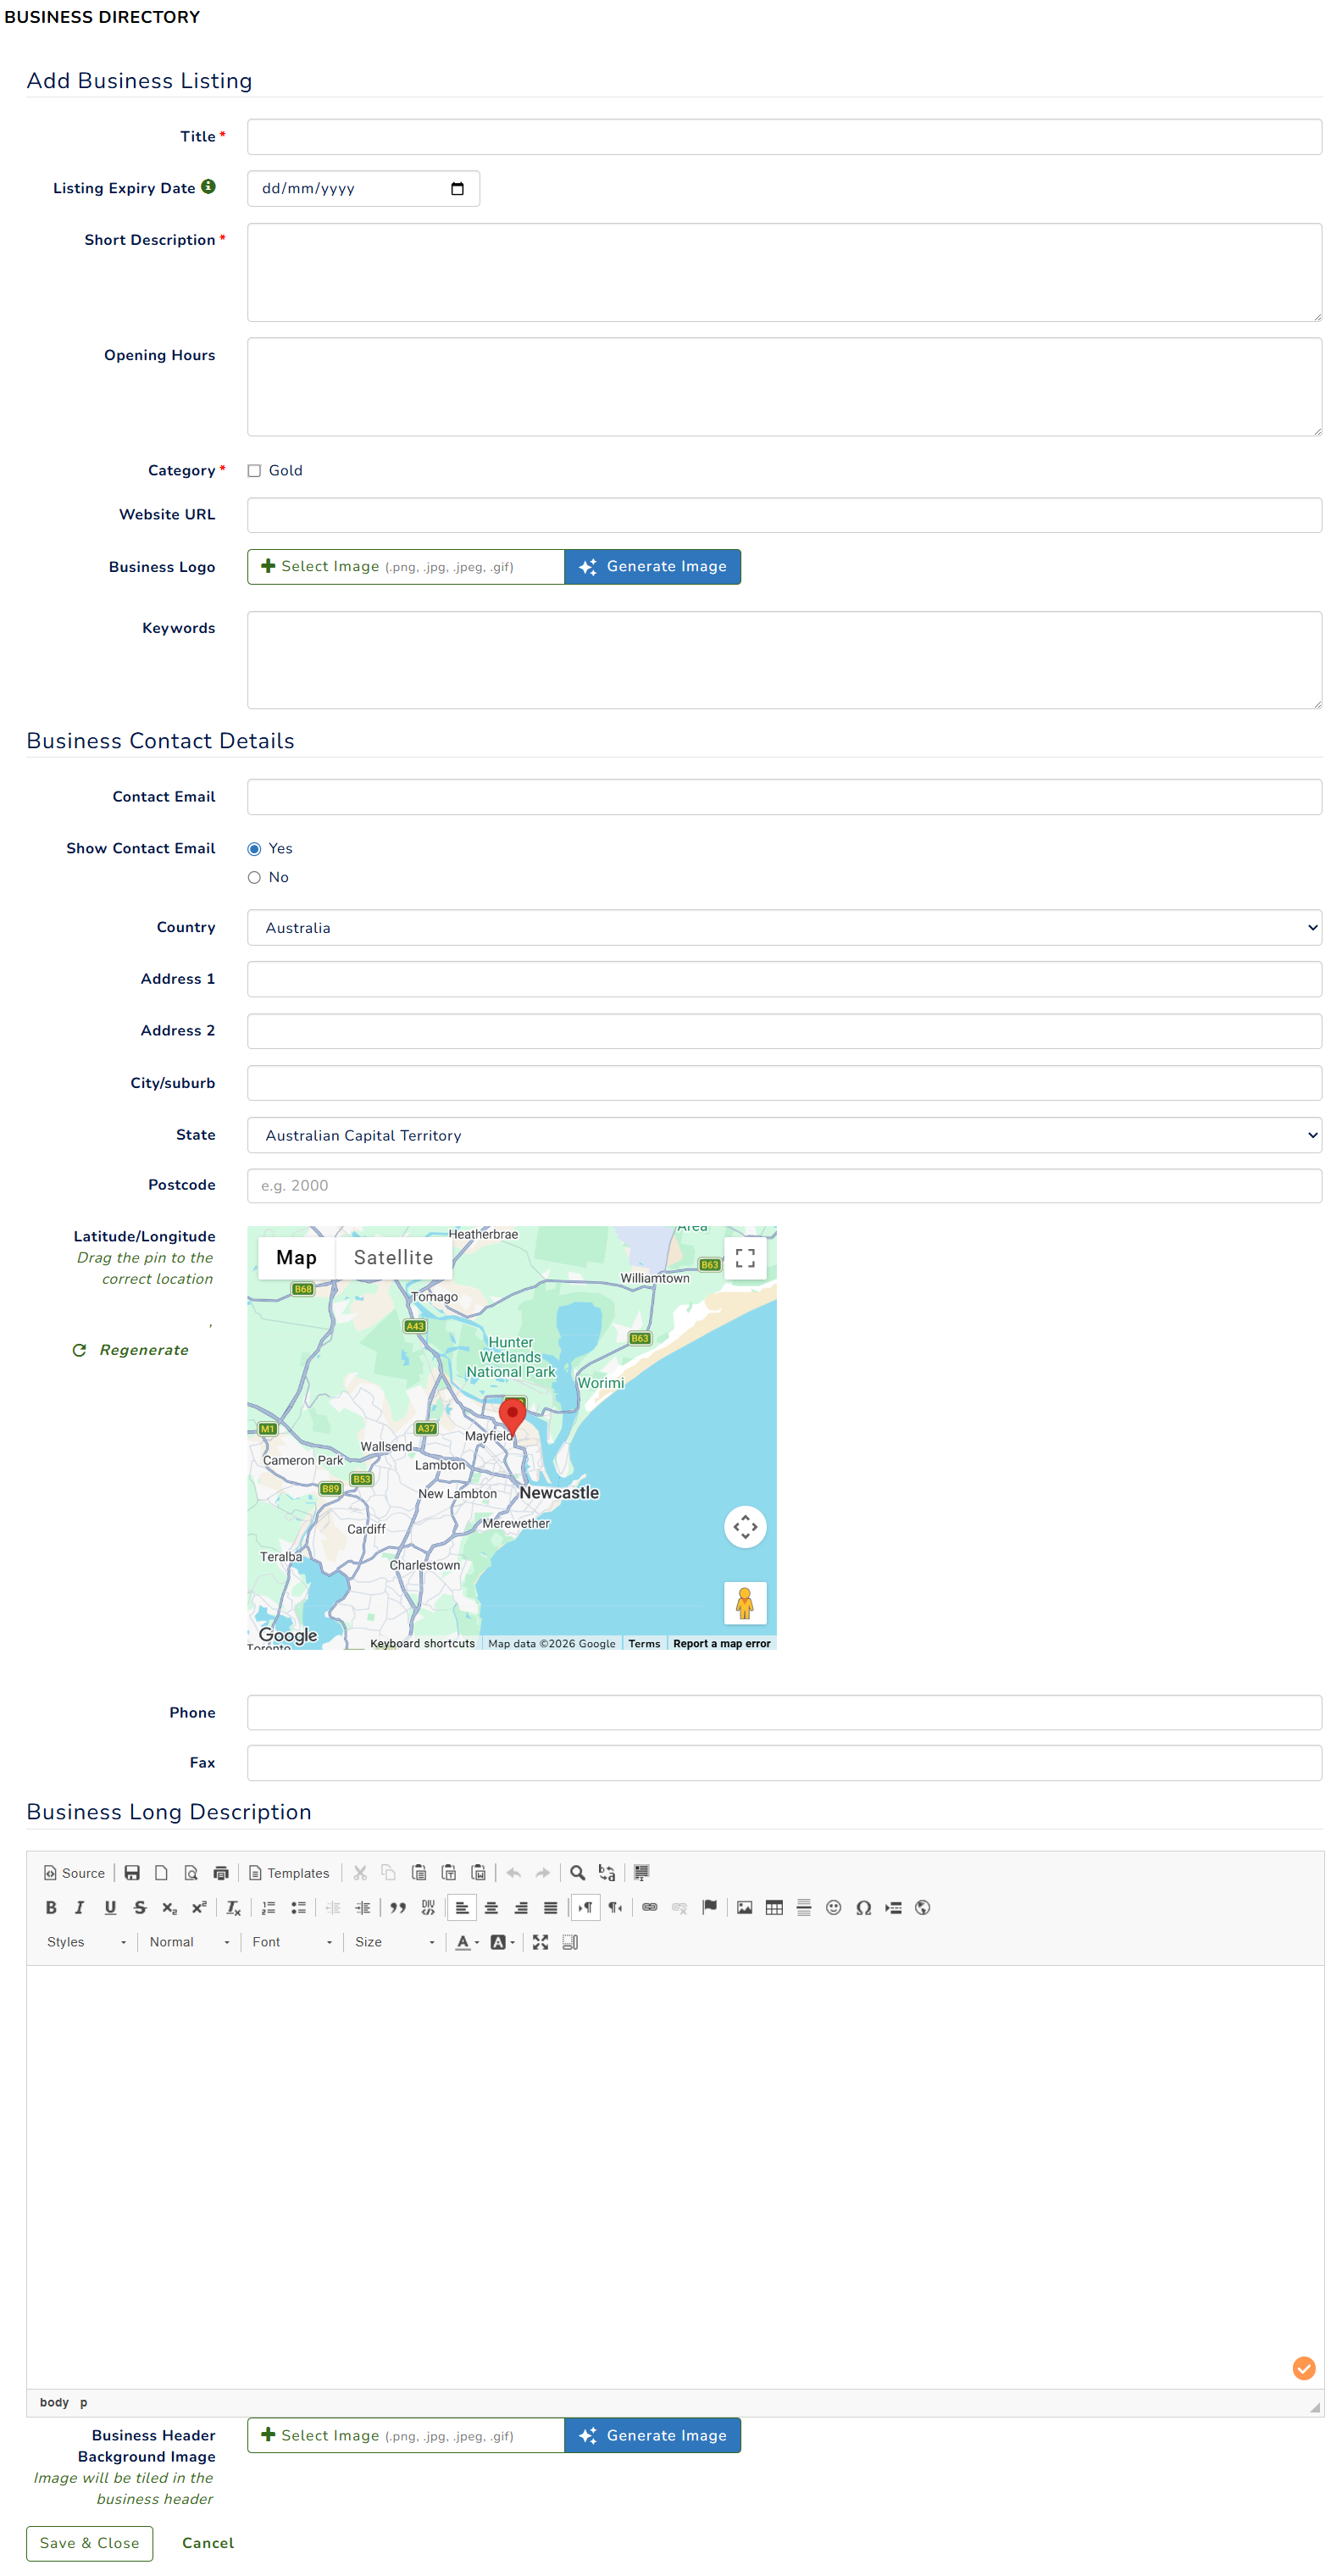
Once completed, click Save & Close. The listing is inactive by default. To activate the listing, tick Activate to enable it.
Sample listings on your business directory pages.
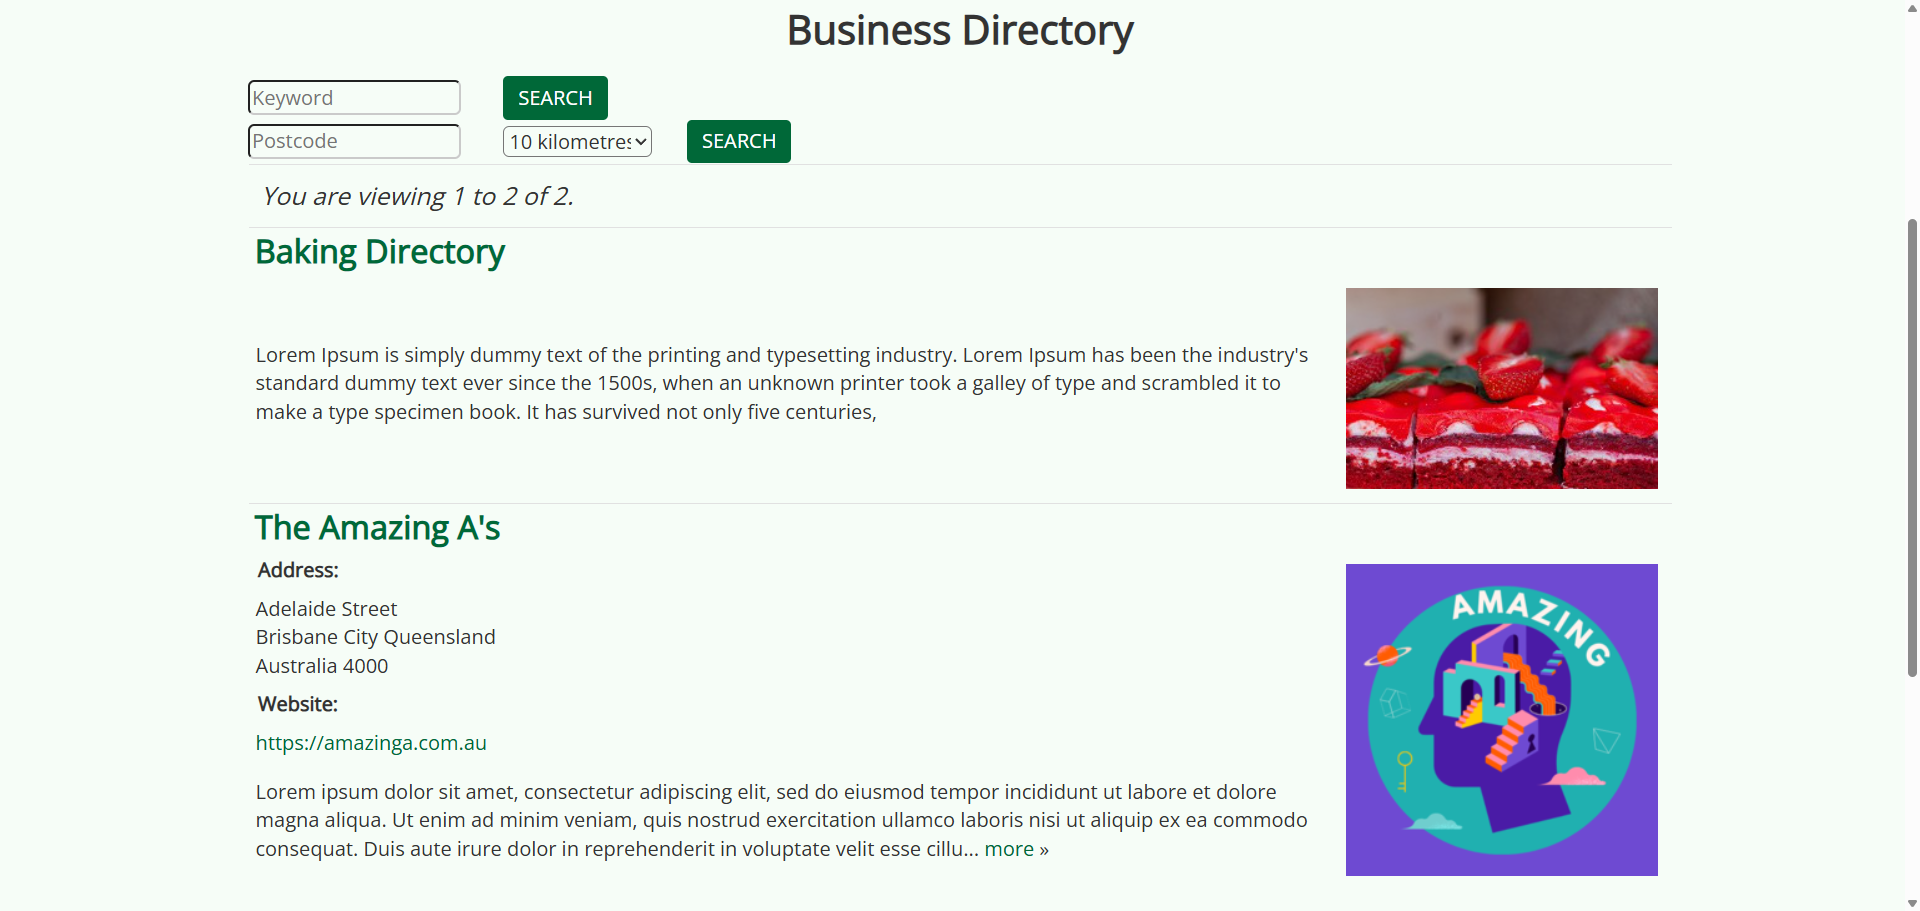
Sample listing
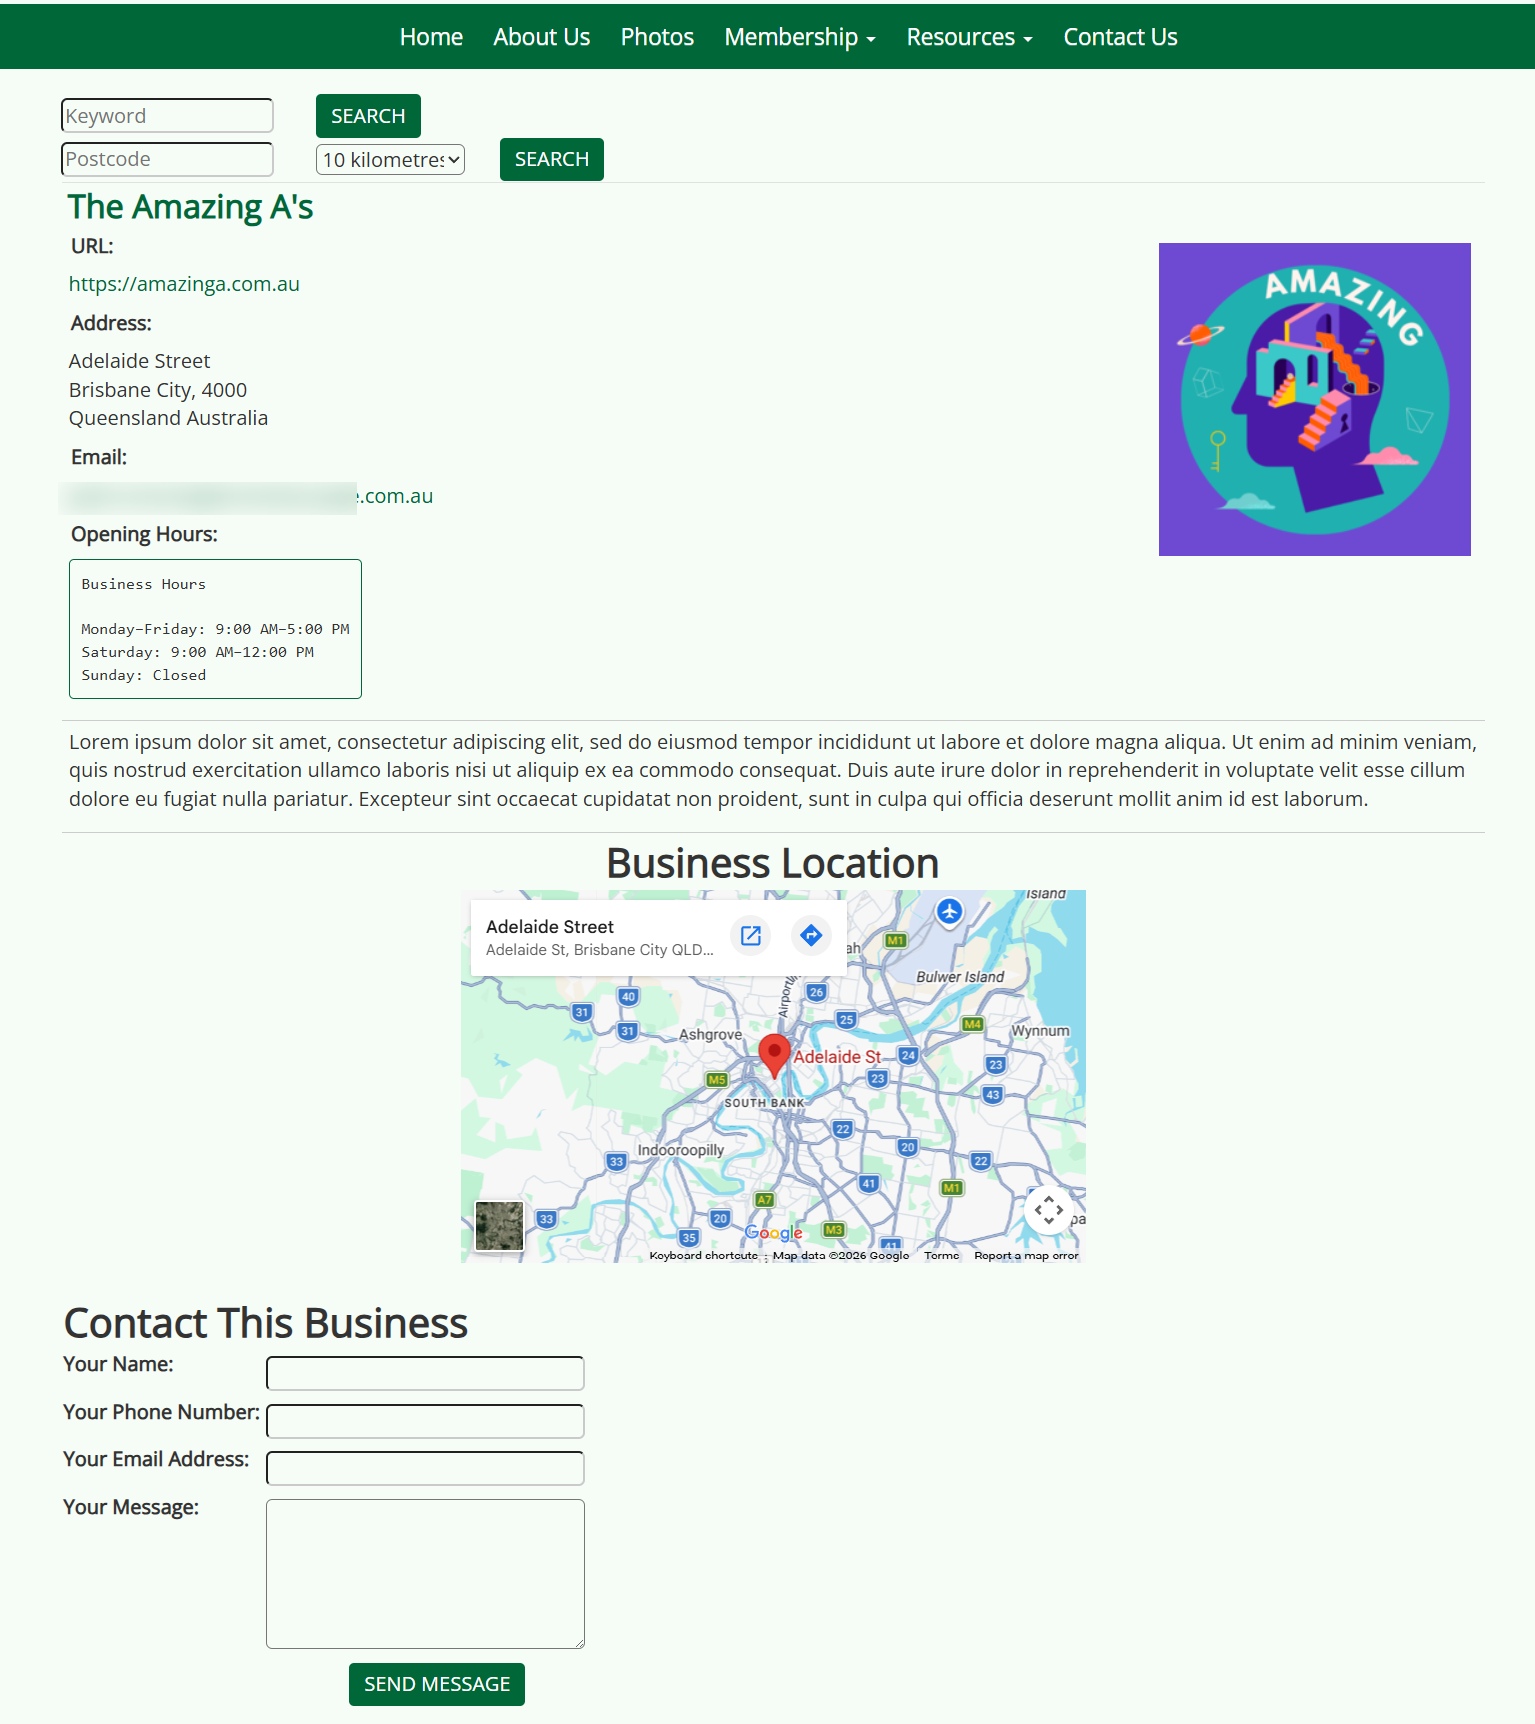
Managing the Business Directory Listing
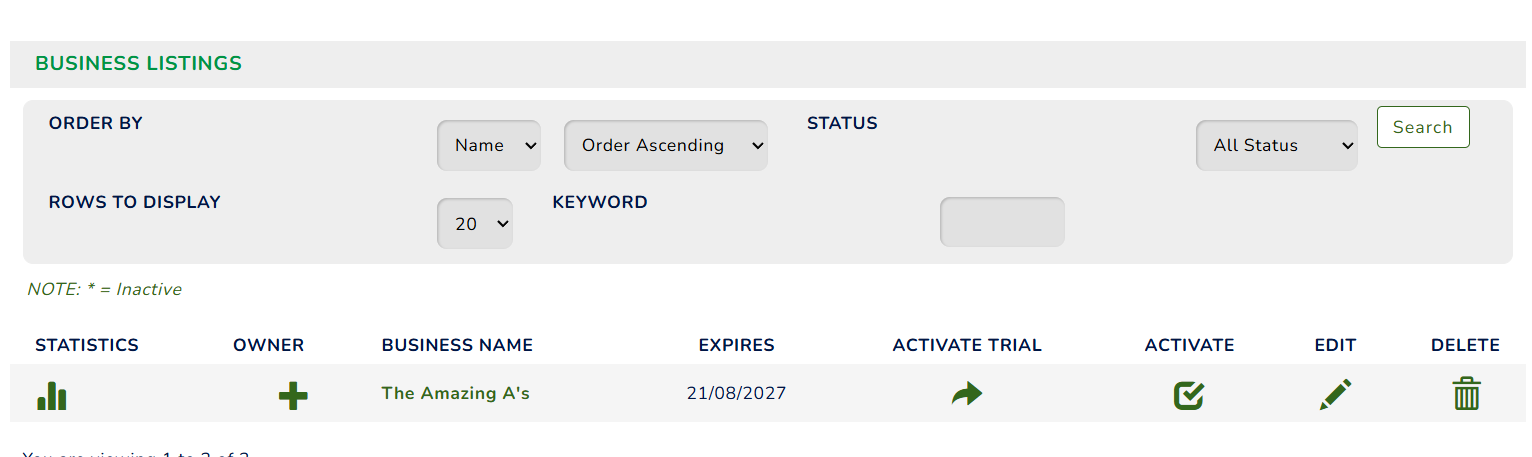
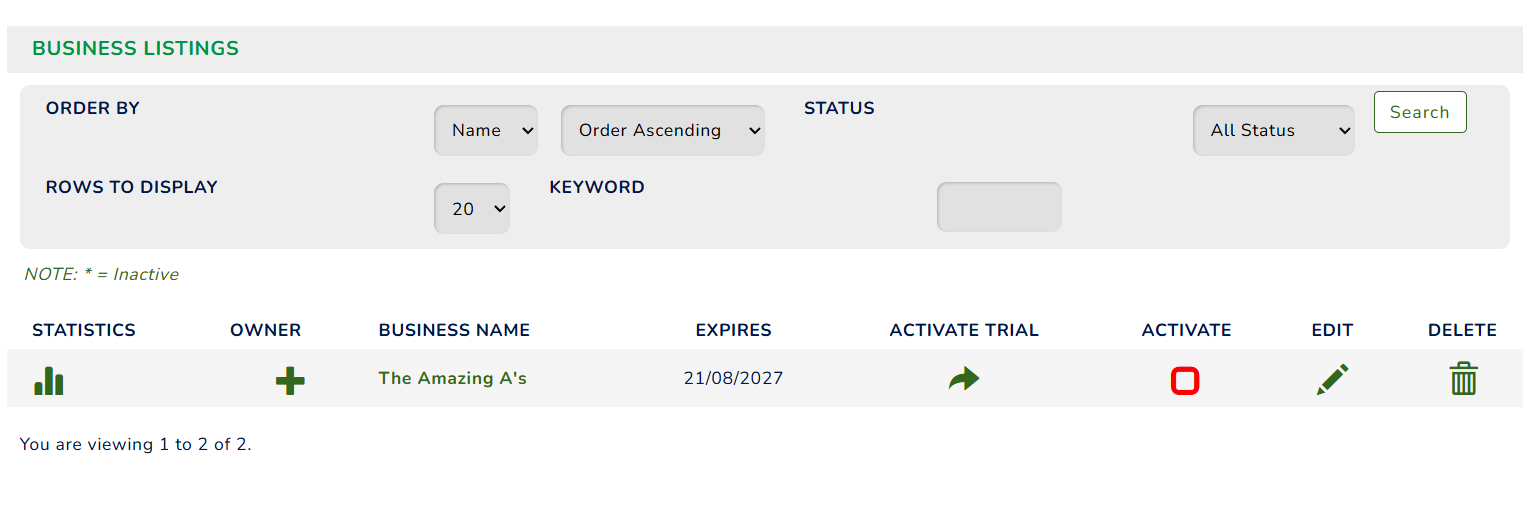
To find a specific listing, use the filters available on your dashboard to narrow down the results.
Here are the additional options to manage your listing.
- Statistics – View statistics and activity related to the listing.

The Statistics area will show;- The listing name.
- Number of Natural Views - Clicks from the link in the Directory on your website
Number of Views via search - Views from search Engine links. - External Links Clicked - Number of links to external websites that have been clicked from this listing (ie - the business website etc).
- Clicked While Featured - Number of times the listing was clicked while listed as a featured business in the Directory.
- Owner –The Allocate Owners column allows you to link members to business listings as the business owners. Search for a member, select one or more businesses, and assign them as the owner of the selected listings. If the listing was created by a member, they will be assigned as the owner by default.
- Activate Trial – Click the icon under the Activate Trial column to activate a 30-day trial period for the listing. The listing will expire once it reaches the expiry date.
- Activate – Activate the listing and make it visible on the Business Directory page.
- Edit – Make changes to the listing details.
- Delete – Remove the listing from the directory and the system.
Business Address Export
To export a list of businesses and their addresses from your Directory, select Other from the left-side menu, and click Business Address Export.
Click the  button.
When prompted, click the Save button to save the Excel file to your computer.
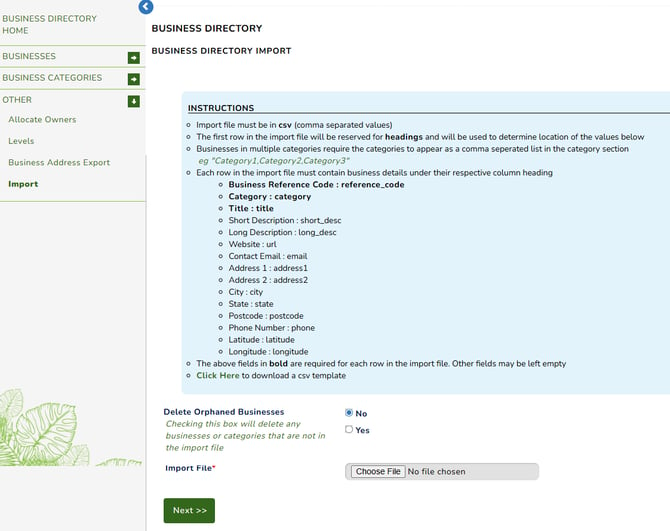
Business Directory Import
You can import your listing directly into the system. To do this, navigate to Module > Business Directory > Others > Import. Then, simply follow the instructions available on your dashboard.